Can a Hand Mixer Froth Milk? A Complete Guide to Milk Frothing for Latte Art
Introduction: Fine, velvety microfoam is key to making a proper latte or cappuccino. But without a professional steam wand at home, how do you froth milk? Can a hand mixer really be used? This article explains milk frothing techniques for different tools, from professional steam wand operation to home electric frother solutions, helping you master the secrets of perfect milk foam and easily achieve the basics of latte art.
Professional Steam Wand Milk Frothing Guide
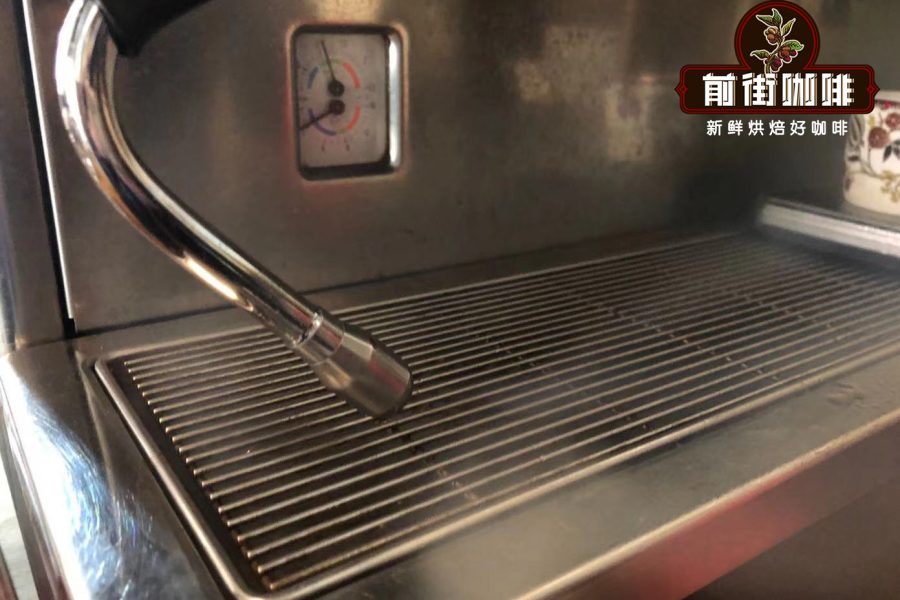
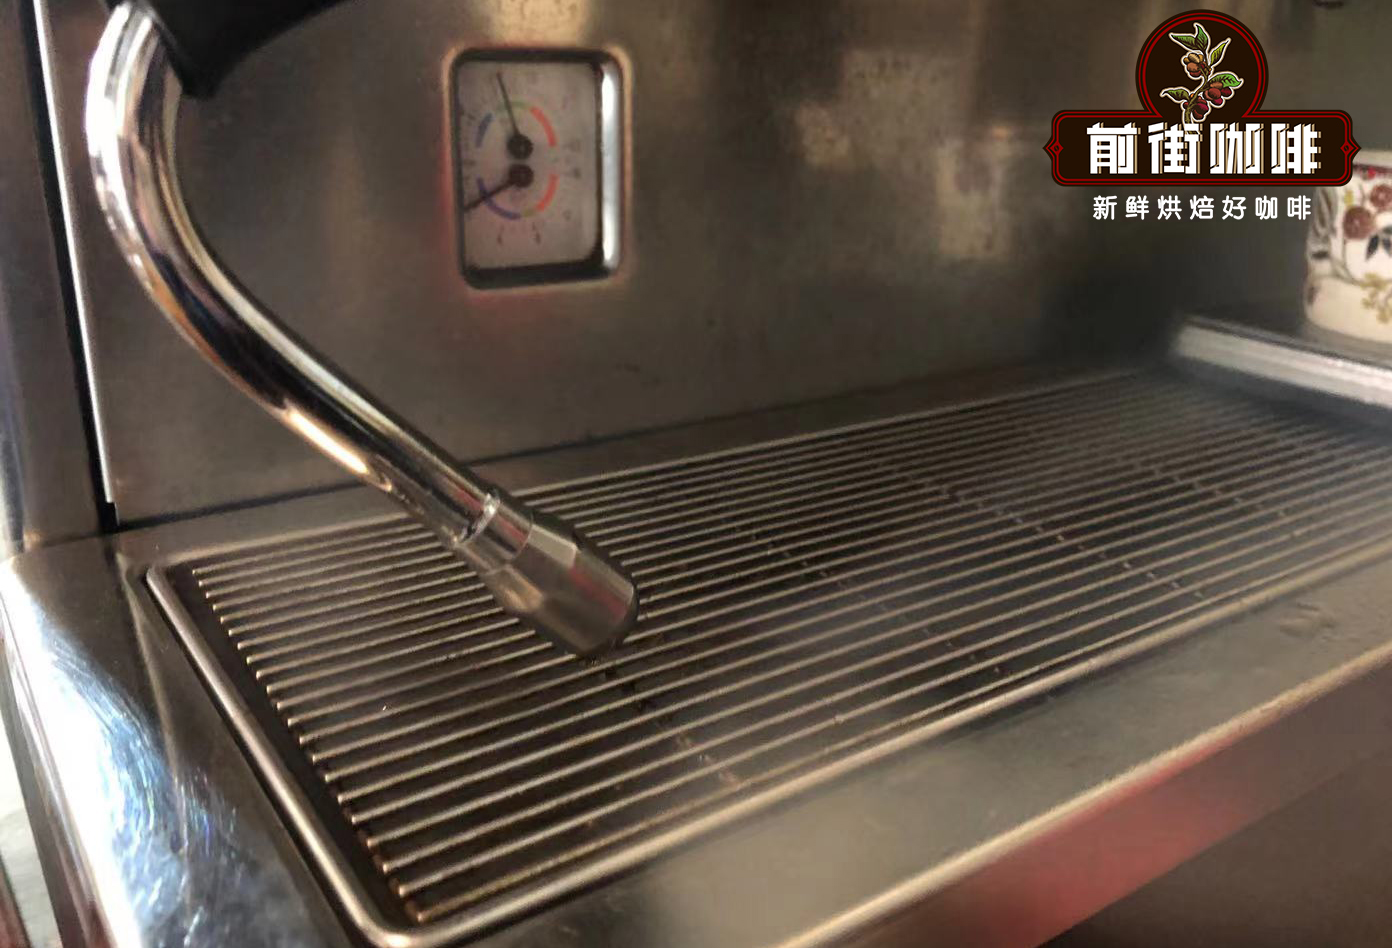
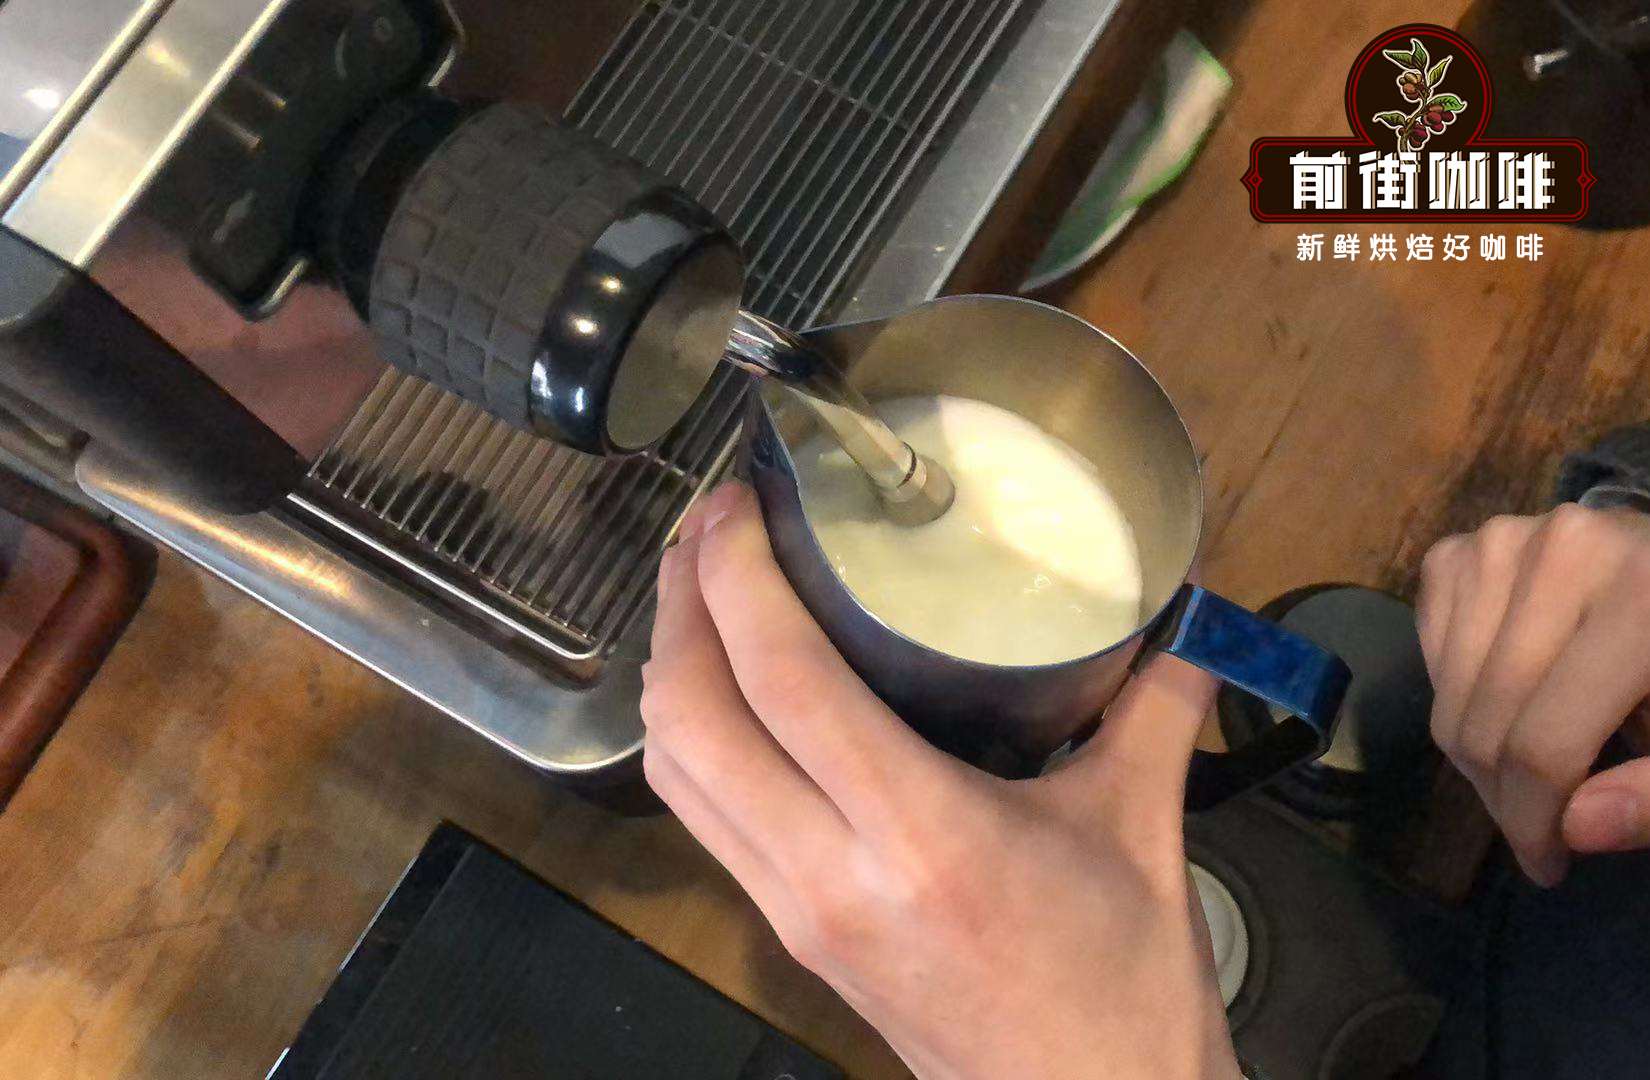
When making specialty coffee, fine milk foam is the foundation of latte art. Most semi-automatic espresso machines come with a steam wand, which is the most practical milk frothing tool. Looking at the steam wand, you will usually find 3-4 steam holes (some models have single-hole or dual-hole designs). Insert the steam wand at an angle into the surface of the milk and turn it on; the airflow will drive the milk to rotate and form foam. If fully submerged below the surface, it only heats the milk.
Scientifically Controlling Frothing Parameters

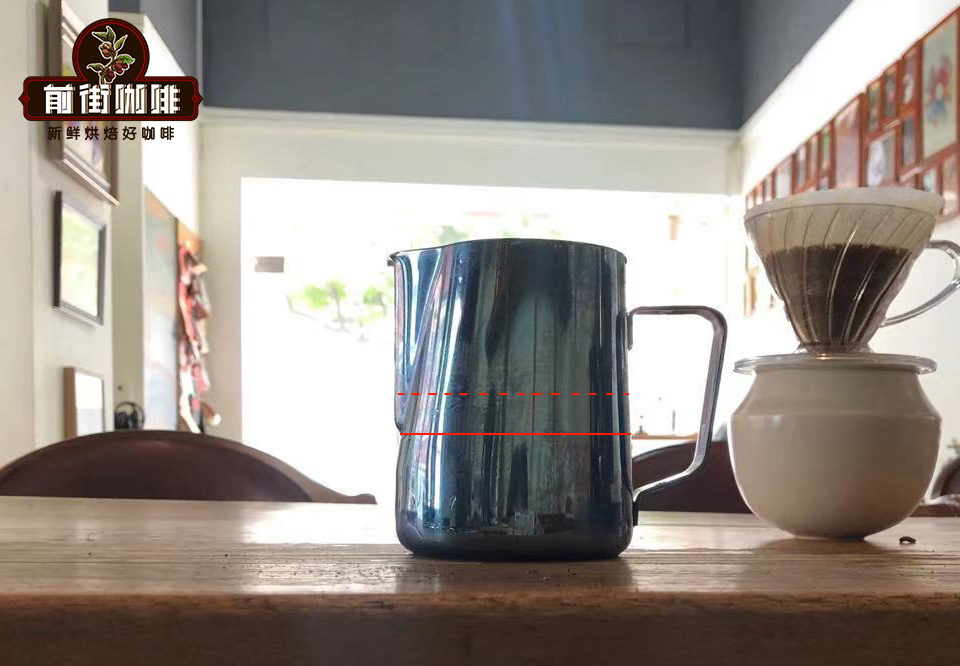
It is recommended to fill the milk pitcher with 40%-60% of its total capacity (for example, pour 250ml into a 550ml pitcher, with the liquid level even with the bottom of the spout). Too little makes temperature control difficult, while too much affects vortex formation. Before frothing, release the condensed water in the steam wand: open the steam valve for 1-2 seconds until you hear a pure steam sound, then close it.
Four Steps to Professional-Grade Milk Foam
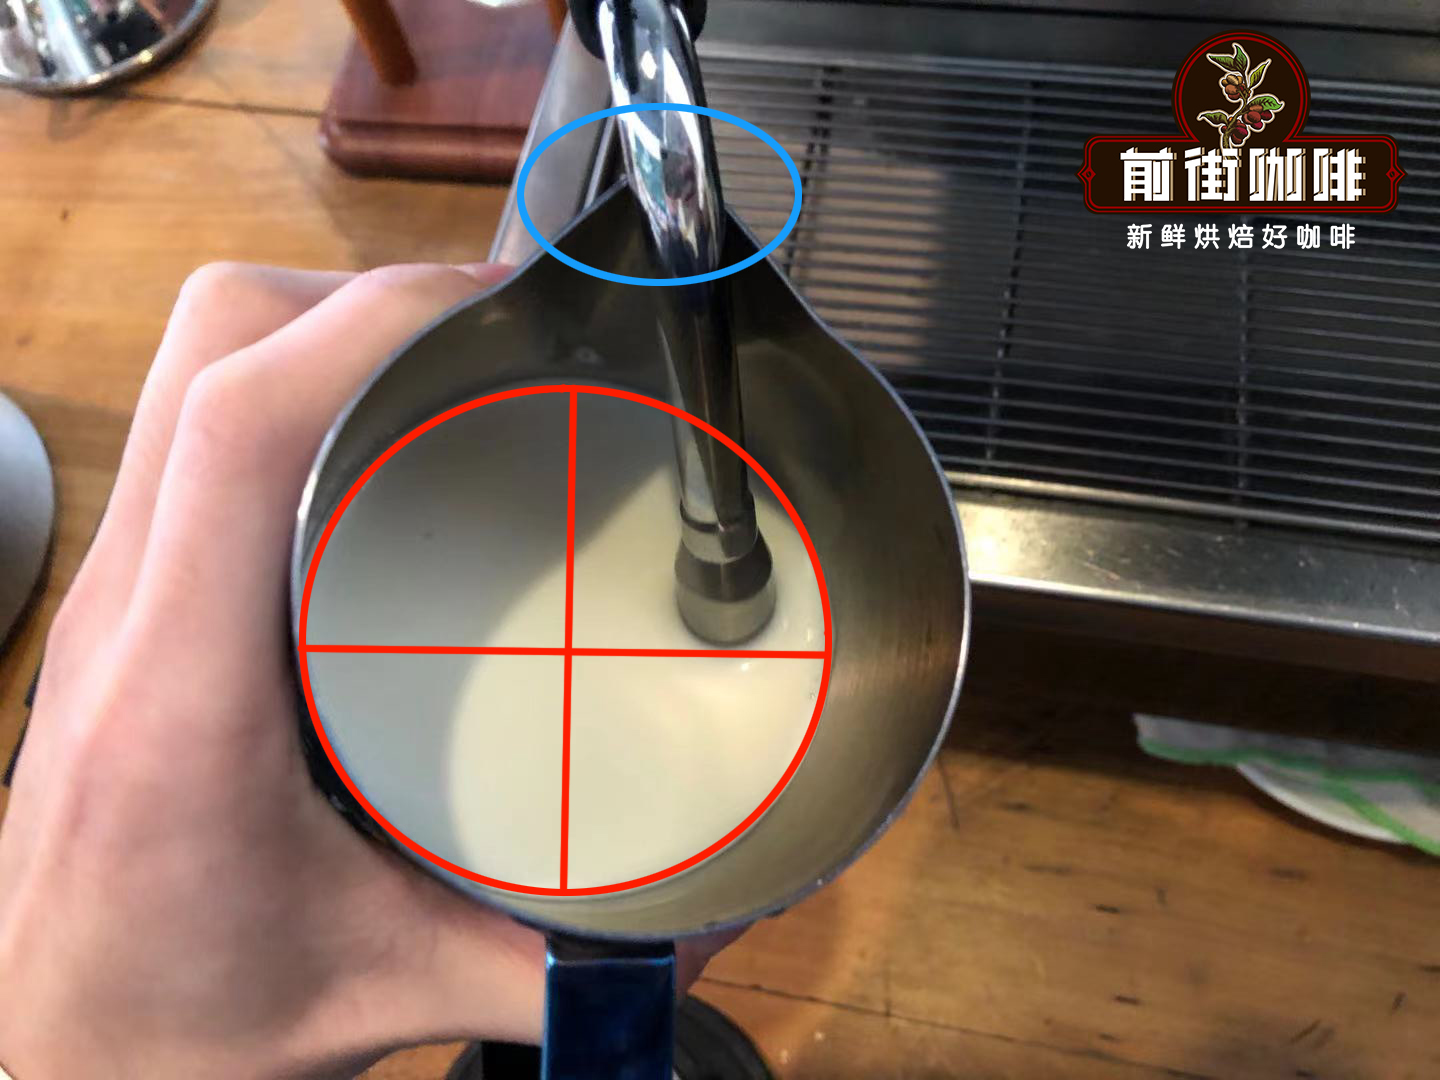
1. Positioning stage: Insert the steam wand at a 45° angle into the milk surface, keeping it slightly right of the center (suitable for a counterclockwise vortex), with the steam holes about 1cm above the liquid surface in a half-submerged state.
2. Frothing stage: After turning on the steam, a characteristic "hissing" sound appears; at this point high-speed airflow injects air into the milk to form initial foam. For a latte, the milk volume usually needs to increase by 10%-20% (about 3-5 seconds of continuous frothing).
3. Blending stage: Once the foam begins to form, fully submerge the steam wand into the foam layer (be careful not to touch the bottom), using the vortex motion to evenly mix large and small bubbles.
4. Temperature control stage: Continue heating to 55-65°C (the best tasting temperature is 60-63°C). When the outside of the pitcher is hot to the touch but still briefly holdable, turn off the steam immediately; high temperatures cause milk protein denaturation and affect the taste.
Judging Finished Quality
Ideal milk foam should have a thick, yogurt-like texture, with a mirror-like sheen on the surface and no large bubbles. When you swirl the pitcher, the foam should flow as a cohesive, gel-like mass rather than separating loosely.
Comparison of Home Alternatives
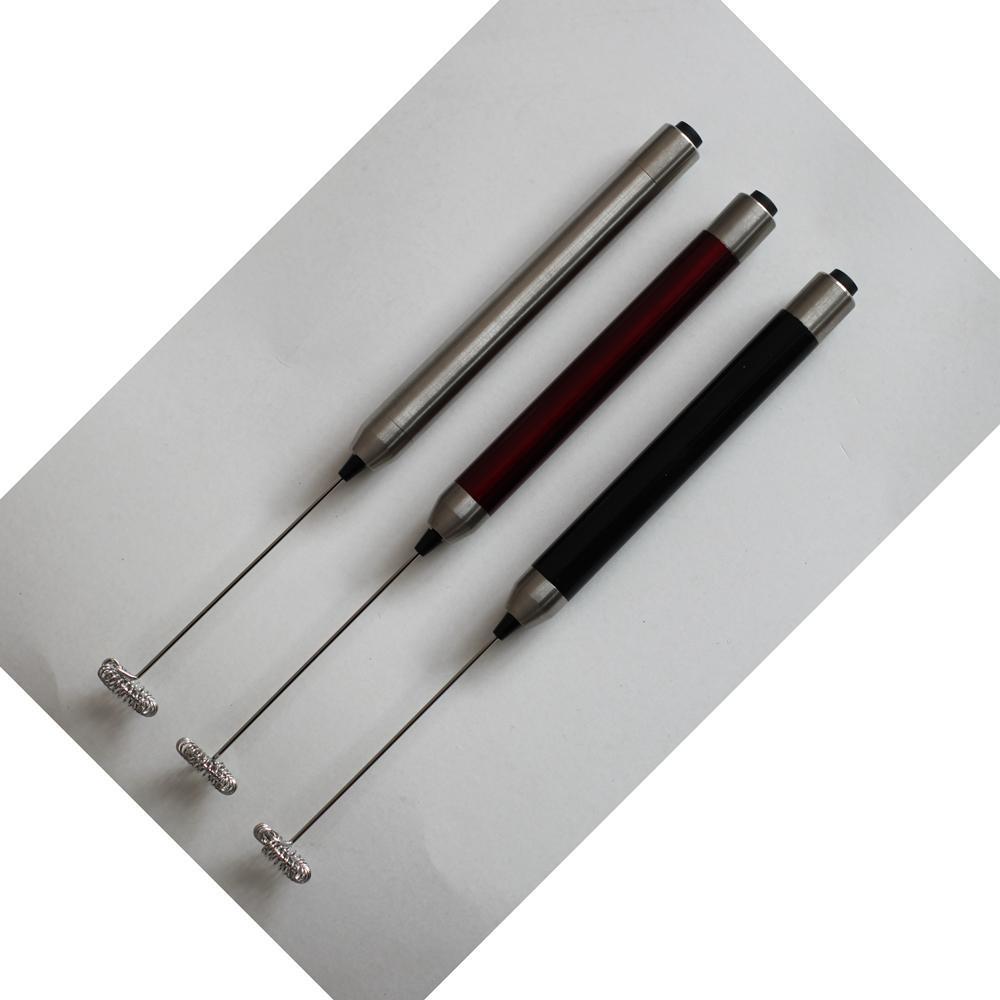
An electric milk frother is a budget option: its bottom turbine blades create a vortex in a glass to incorporate air. Although less efficient than professional equipment, it is sufficient for everyday home needs. Note that the frother should be inserted vertically into the middle of the milk surface, maintaining a steady speed until the desired texture is achieved.
The Truth About Hand Mixers
A traditional manual hand mixer can theoretically froth milk, but it requires continuous whisking for several minutes and the results are hard to control. The foam produced this way is usually coarse with uneven bubble sizes; it can neither form stable latte art patterns nor blend well with espresso, so professional baristas do not recommend using one.

Analysis of Common Blending Problems
When the milk foam dissipates quickly after being poured into the coffee, it is usually because the foam is too thin (too much air content). The solution is to extend the frothing time or reduce the amount of air injected. If the foam floats and clumps during latte art, strengthen the vortex mixing during the texturing stage to ensure even distribution of large and small bubbles. The core factors affecting blending include: steam pressure (which determines the initial foam structure) and the final foam fineness (denser microfoam settles more stably).