The Complete Guide to Brewing with the Clever Cup: Simple Steps, Parameters, and Flavor Analysis
Introduction: Still troubled by complex pour-over steps? The Clever Cup, a semi-automatic coffee device that balances convenience and flavor, completes extraction with just a simple soak. This article explains the Clever Cup's working principle, basic parameter settings, and flavor performance, specifically answering common questions such as 'Can it make a latte?', and includes cleaning tips and flavor optimization suggestions to help you easily enjoy high-quality coffee.
Many coffee enthusiasts often feel troubled by the cumbersome brewing process: precisely controlling the water volume for each pour, maintaining a circular pouring technique, and closely watching the two-to-three-minute extraction time. If you crave a more relaxed experience, try the Clever Cup—this creative device originating from Taiwan, China, simplifies complex operations into two steps: 'soak + filter'.

The Clever Cup looks like an ordinary dripper with a circular base, but its core lies in the rubber piston valve inside the base. After pouring water, the internal water pressure automatically closes the valve to achieve soaking; when placed on the base, the pressure causes the valve to open, and the coffee liquid flows out evenly through four holes. This design retains the flavor layers of pour-over while eliminating the cumbersome cleaning of a French press—just discard the filter paper and cleanup is done.

Before use, prepare five basic tools: the Clever Cup itself, a matching large fan-shaped filter paper (the choice of filter paper directly affects ease of cleaning), medium-dark roasted coffee beans (about 20g recommended), 94°C hot water, and a receiving cup with a diameter smaller than the cup bottom (to ensure the valve triggers properly). The coffee grind should be the same as for hot pour-over, about 80% passing through a No. 20 sieve, with a recommended coffee-to-water ratio of 1:15 (e.g., 20g coffee with 300ml water).

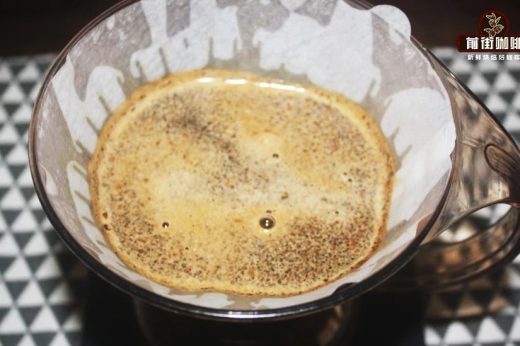
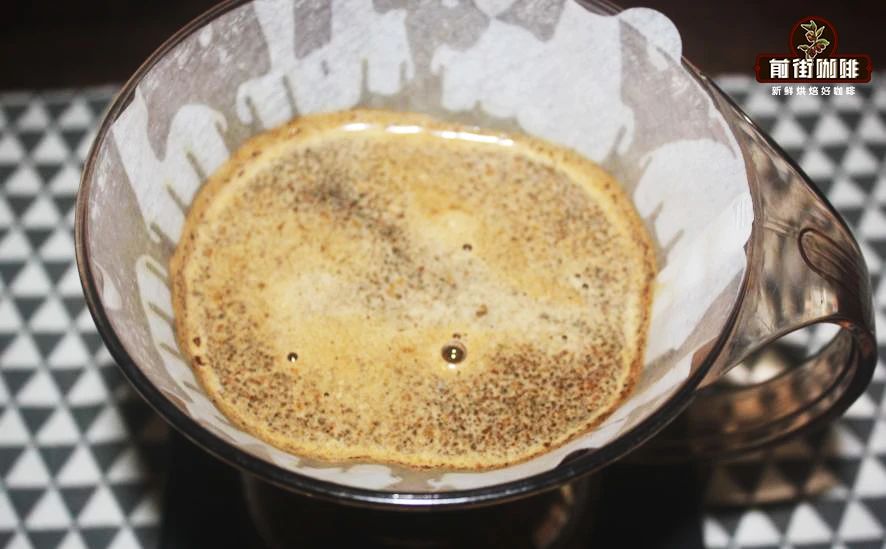
The specific operation is in four steps: first, wet the filter paper and place it in the cup, then pour in the coffee grounds and level them; next, pour 300ml of 94°C hot water at a slightly higher flow rate (pour all at once to avoid local over-extraction) while starting the timer; after 4 minutes of soaking, place the Clever Cup steadily on the base cup—the piston valve is pressed open, and the coffee liquid slowly drips through the four holes. The entire process requires no adjustment of water flow or circular pouring, so even beginners can easily master it.

Regarding flavor performance, coffee extracted with the Clever Cup has slightly lower acidity brightness than fine pour-over, but more prominent sweetness and body. For example, with Panama Elida Estate beans, the orange acidity is clearly discernible, accompanied by peach sweetness and a slight raisin fermentation aroma. If you prefer milk coffee, you can directly replace the hot water with hot milk at the same temperature (keeping the same soaking parameters); medium-dark roasted beans (such as Queen's Estate, Bird of Paradise, Golden Mandheling) are recommended to better highlight the rich and smooth mouthfeel.

FAQ: Q: Can it make a latte? A: Yes! Replace hot water with hot milk, keeping the parameters unchanged (20g coffee + 300ml milk, 1:15 coffee-to-liquid ratio). After 4 minutes of soaking, you get a basic milk coffee; adding syrup to adjust sweetness is recommended. Q: Why is filter paper emphasized for cleaning? A: Filter paper effectively adsorbs fine particles; after discarding it together with the coffee grounds, you only need to rinse the cup with water, avoiding residual oils clogging the valve. Q: Can the soaking time be adjusted? A: 4 minutes is a general baseline; for light-roasted beans, extend to 4 minutes 30 seconds to enhance acidity, and for dark-roasted beans, shorten to 3 minutes 30 seconds to avoid bitterness. Fine-tune based on actual flavor feedback.

Tips: After use, promptly disassemble the filter cup and base, and use a soft brush to clean residual grounds from the crevices; when not in use for a long time, keep it dry to prevent the rubber valve from aging. With these details mastered, the Clever Cup will become your coffee table's 'lazy genius'—no professional technique required, yet consistently producing balanced coffee.