Why Your Latte Art Fails: A Step-by-Step Guide to Perfect Hot Latte Patterns

Introduction: Many coffee lovers who are new to latte art follow tutorials closely yet still can't produce clear patterns. This article takes an in-depth look at the common causes of latte art failure, breaking down the core techniques of hot latte art step by step—from espresso extraction and milk steaming to pouring technique—to help you master the secret of blending milk foam and crema perfectly and easily pour clear basic patterns such as a white heart.
Latte art is one of the motivations for many coffee lovers and baristas to get started, but plenty of people run into a common problem while practicing: they follow the tutorial exactly, yet when they pour the milk themselves, they simply can't produce a pattern. The movements look identical, so why are the results worlds apart?

The magical effect of latte art is actually laid down at the espresso and milk foam stages. When an experienced barista shares latte art tips, they often emphasize the key role of these two elements first.
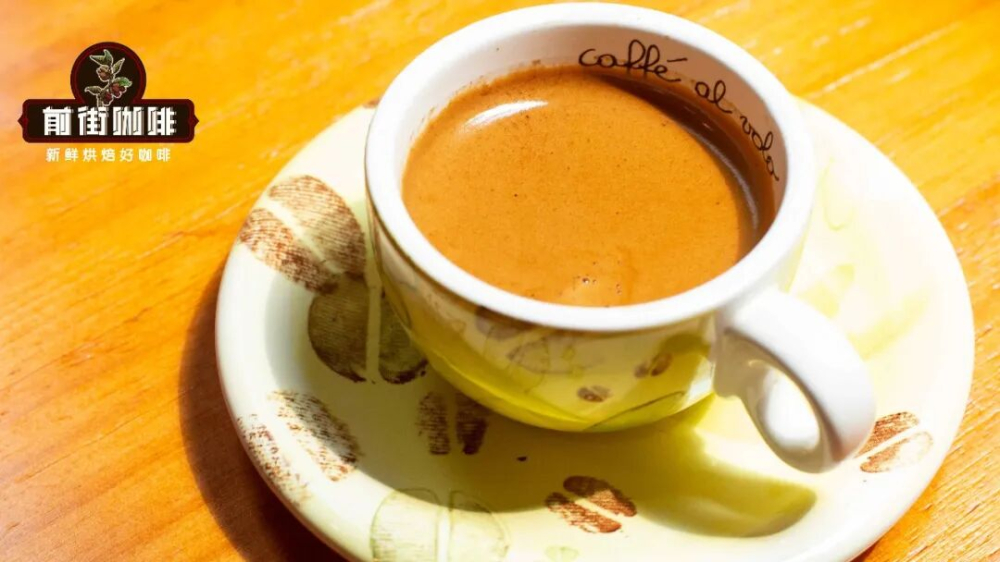
The seemingly magical craft of latte art depends first on a cup of espresso that is rich in crema and smooth, viscous in texture. The crema on the surface of an espresso is not only a direct reflection of coffee quality but also directly affects the latte art result. Richer crema usually means the coffee beans have a higher natural oil content and relatively ideal freshness. Note, however, that overly fresh coffee beans, though abundant in crema, flow poorly, which is unfavorable for latte art; conversely, beans stored too long extract thin crema, and the patterns poured are not only unstable but also tend to dissipate quickly.

To achieve an ideal latte art result, it is recommended to choose coffee beans from three dimensions: give priority to medium-dark roasted espresso blends; make sure the roast date falls within the 10-to-60-day freshness window; and choose varieties with outstanding crema performance. Generally speaking, beans whose flavors are dominated by chocolate, cocoa, caramel, roasted chestnut, butter and hazelnut, with no pronounced acidity, are better suited to latte art. For example, a classic blend combining the creamy nutty aroma of Brazilian beans with the solid body of Mandheling, thanks to a small addition of Robusta beans, not only gains fuller body but also shows better crema and layering, helping latte art patterns come out more distinct and long-lasting.
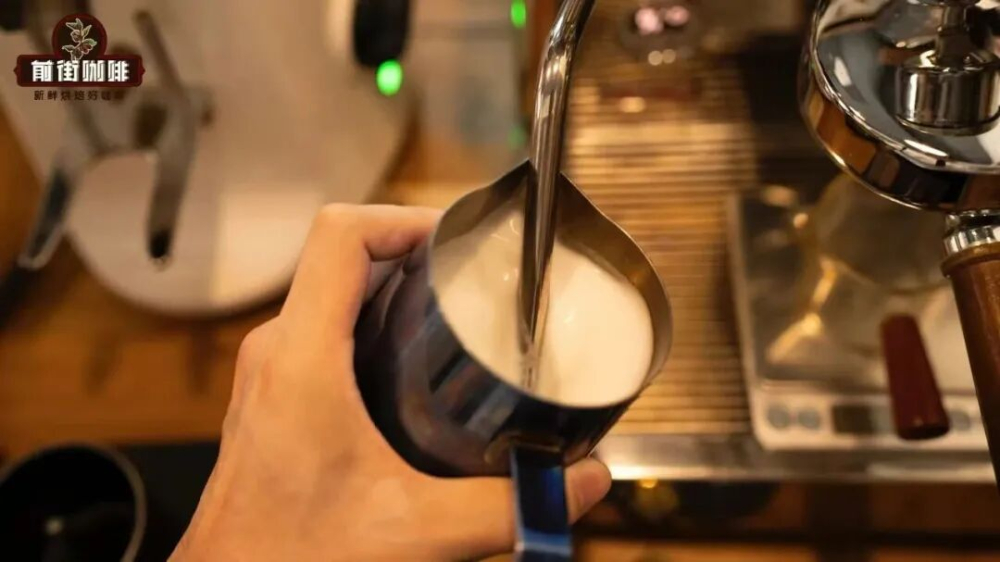
The quality of the milk foam directly determines the success or failure of latte art. Even if you know the steps of a latte art pattern by heart, poor foam makes it hard to achieve the desired result. High-quality milk foam requires milk with sufficient protein and milk fat; fresh milk, thanks to its sterilization process, retains these key components better, and its abundant lactose also brings better sweetness after heating. There are many methods online for the specific position and technique of steaming milk—as long as you grasp the core points you can get the hang of it quickly, so we won't repeat them here.
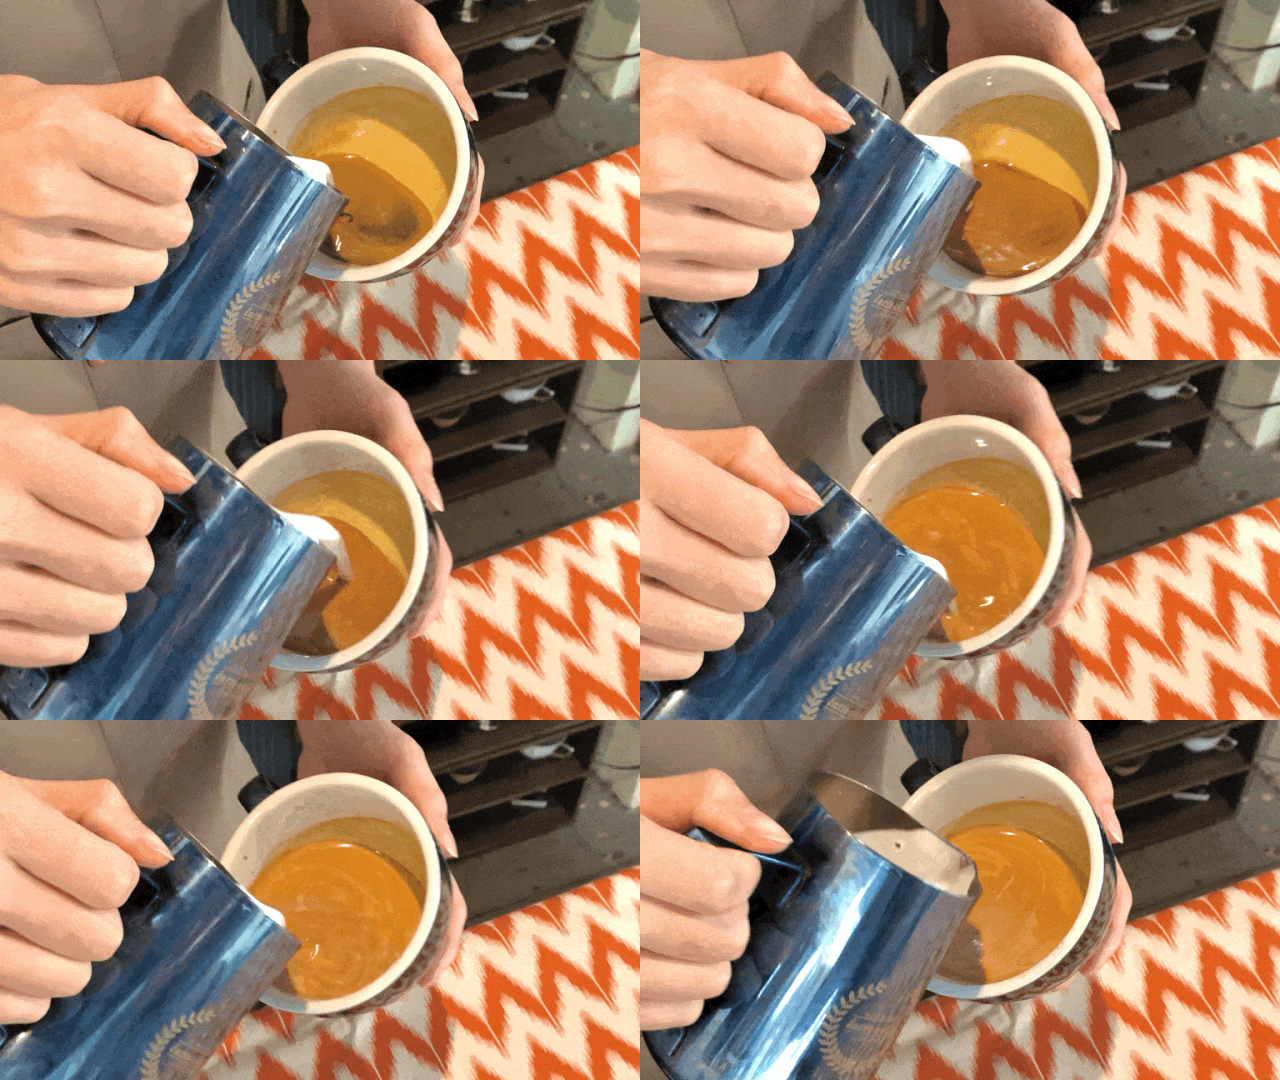
The latte art process can be divided into two key stages: first, the incorporation of coffee and milk foam; second, pouring to form the pattern. The formation of the pattern is essentially a contrast in color between the white milk foam and the espresso crema.
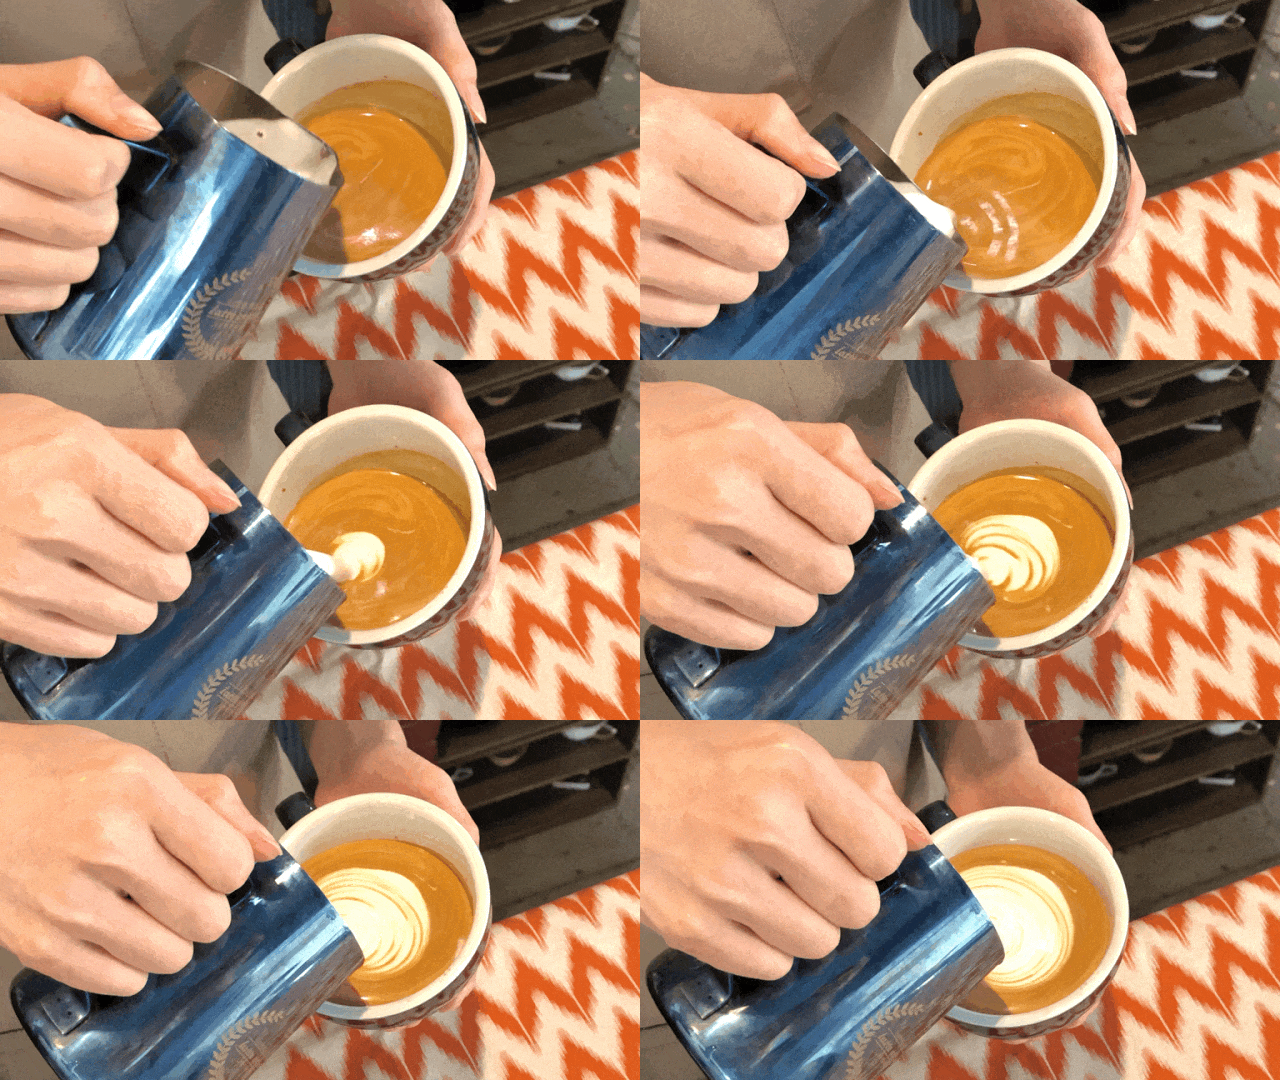
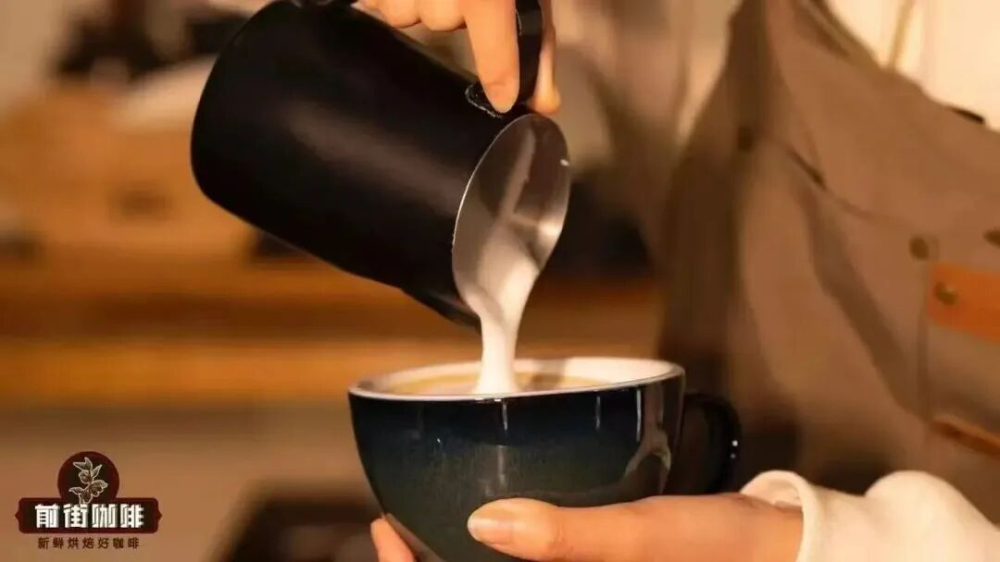
During the incorporation stage, it is recommended to raise the pitcher appropriately and pour in a steady, even circular motion so the milk foam merges naturally into the coffee under gravity, avoiding white streaks on the surface. Once you enter the pattern-shaping stage, quickly lower the spout so the milk foam flows along the spout's path across the coffee surface, gradually outlining the target pattern.
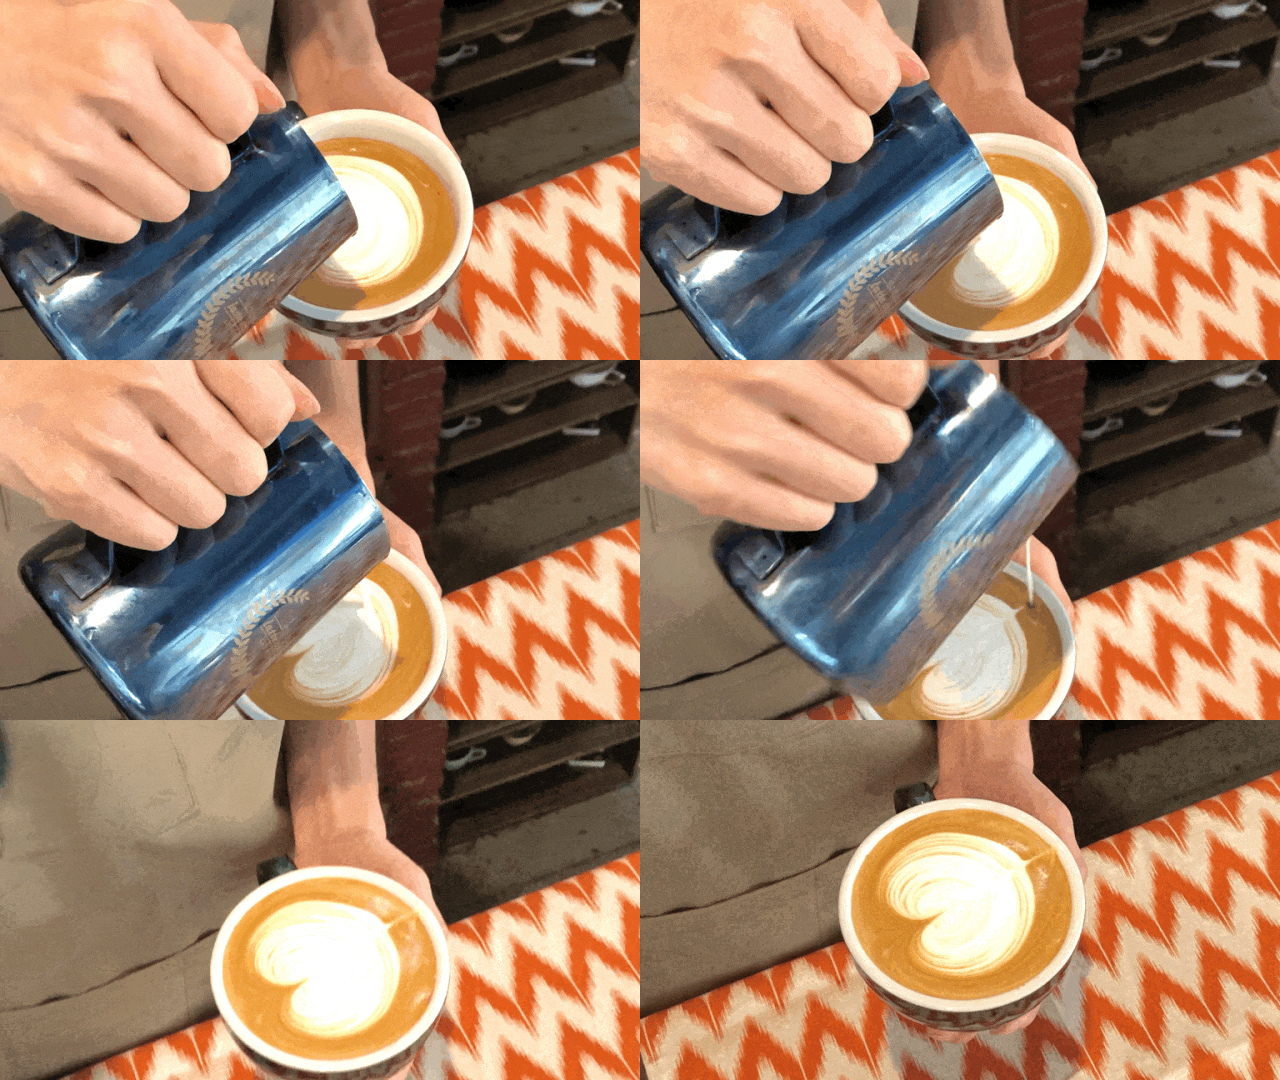
Take the classic white heart pattern as an example: first steam fresh milk into smooth foam about 0.5 cm thick (you can judge quality by whether it shows a reflective surface when swirled), tilt the coffee cup about 45° and hold it firmly, and raise the pitcher to about 8 cm, pouring vertically with a small flow rate to incorporate with the espresso.
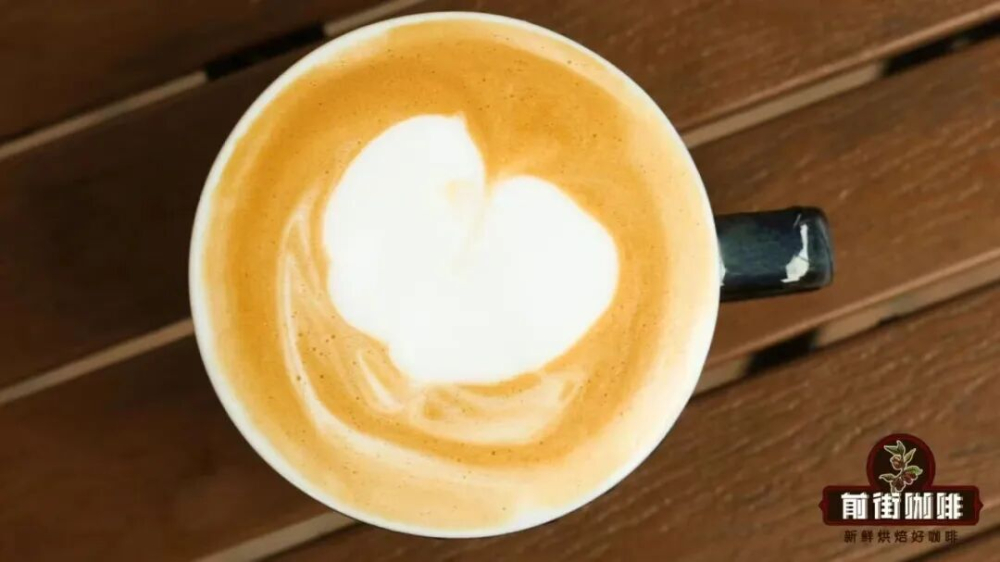
When the liquid in the cup reaches about seven-tenths full, gradually lower the pitcher and tilt its tail up slightly to increase the flow rate, letting the milk foam land on the coffee surface to form a white dot that gradually expands. At the same time, gradually straighten the coffee cup held in your left hand; when the cup is nearly level, the foam dot is basically formed—now quickly lift the pitcher so the downward impact of the liquid draws the white sections on both sides toward the center and embeds them into the crema, then sweep the liquid lightly toward the tail, and a clear white heart pattern appears.
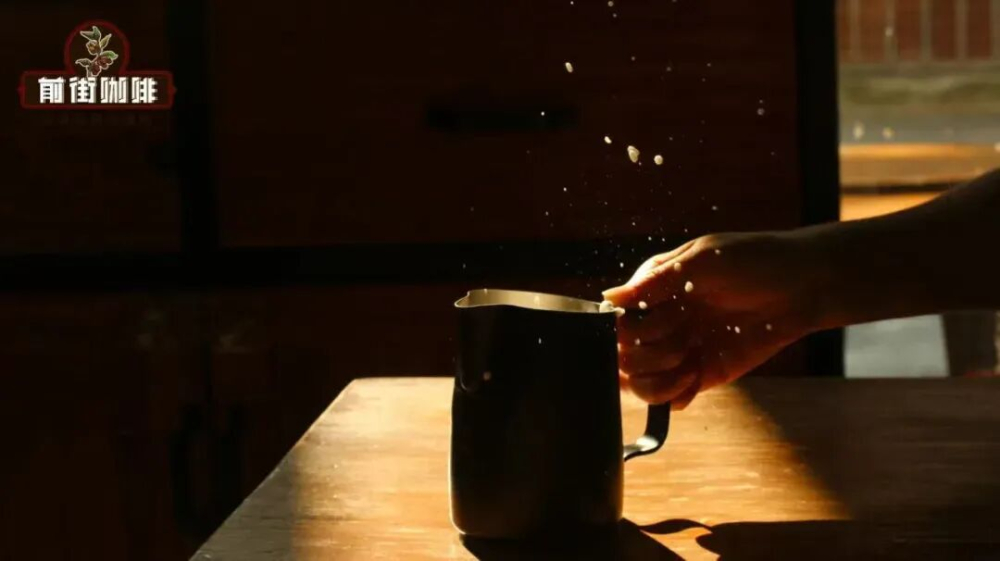
One common reason latte art patterns fail to form is abnormal milk foam condition. Many people run into clumpy foam early on, mainly for two reasons: first, the foam is steamed too thick, resulting in poor flow—experience shows that limiting aeration to three or four "tsst~tsst" sounds and keeping foam thickness at 0.3 to 0.5 cm is better for incorporating and patterning a hot latte; second, the foam sits too long, causing the crema and foam to separate, so during incorporation only the milk and coffee liquid mix first while the espresso portion hardens and the foam lingers in a form that is hard to control. Therefore, after steaming, it is recommended to first swirl the pitcher vigorously to fully blend the bubbles and liquid, and also give the espresso in the cup a brief swirl to improve overall flow.
Another common problem is that the pattern doesn't appear at all, which is usually related to improper pitcher handling force. A common beginner mistake is keeping the pitcher too high, so the stream pierces straight through the surface to the bottom and leaves only a small white dot on the surface, with no pattern at all. Some people, eager to show the pattern, start swinging the pitcher immediately after the incorporation stage, and the high flow rate simply scatters the lines, so the intended pattern never forms. The correct approach is to quickly lower the pitcher after incorporation, let the white foam slide out naturally along the surface, and once the circular arc has stably appeared on the surface, swing the pitcher rhythmically to create the layered ripple effect.
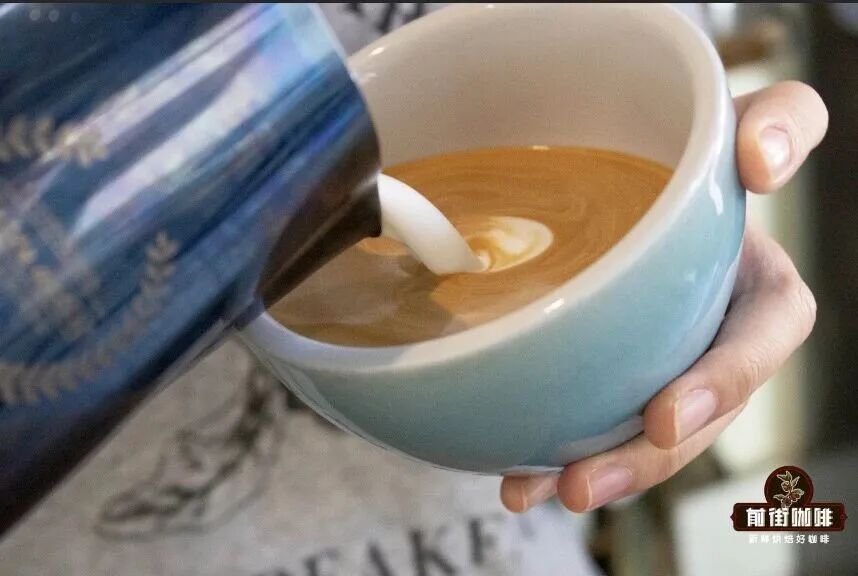
Successful latte art requires not only precise control of flow rate but also smooth, crisp movements. Experienced baristas know that as the milk foam gradually invades the crema and slides backward, the white lines pushed out curl back from both sides while supporting the foam poured afterward, ultimately forming a full, three-dimensional pattern. If the pouring force is too weak, not enough white stays in the liquid, the coffee surface lacks clear white traces, and in the end only a mass of foam is left piled in the bottom of the pitcher.

For the vast majority of basic patterns, the first step of latte art after incorporation must be to lower the spout, maintain maximum flow rate and push forward.