Drip Bag Coffee Brewing Guide: Re-brewing, Bitterness Control, and Adding Milk
Introduction: Drip bag coffee has become a good choice for travel and home thanks to its convenience, but many people have questions about how to brew it, how many times it can be brewed, and how to adjust its flavor. This article explains the correct brewing steps for drip bag coffee in detail, including water temperature, coffee-to-water ratio, and pouring method, and answers questions such as whether it can be re-brewed, whether it is bitter, and how to pair it with milk, helping you fully unlock the potential of every cup of drip bag coffee.
Thanks to its light and portable nature, drip bag coffee is an ideal companion for outdoor camping, short trips, and even daily commutes. All you need is a cup, and within a few minutes you can enjoy coffee with a freshly ground flavor. However, to truly brew drip bag coffee well and fully experience its flavor, there are still some techniques and points to note. Below, we will give you a comprehensive analysis covering brewing methods, flavor adjustment, the feasibility of re-brewing, and more.
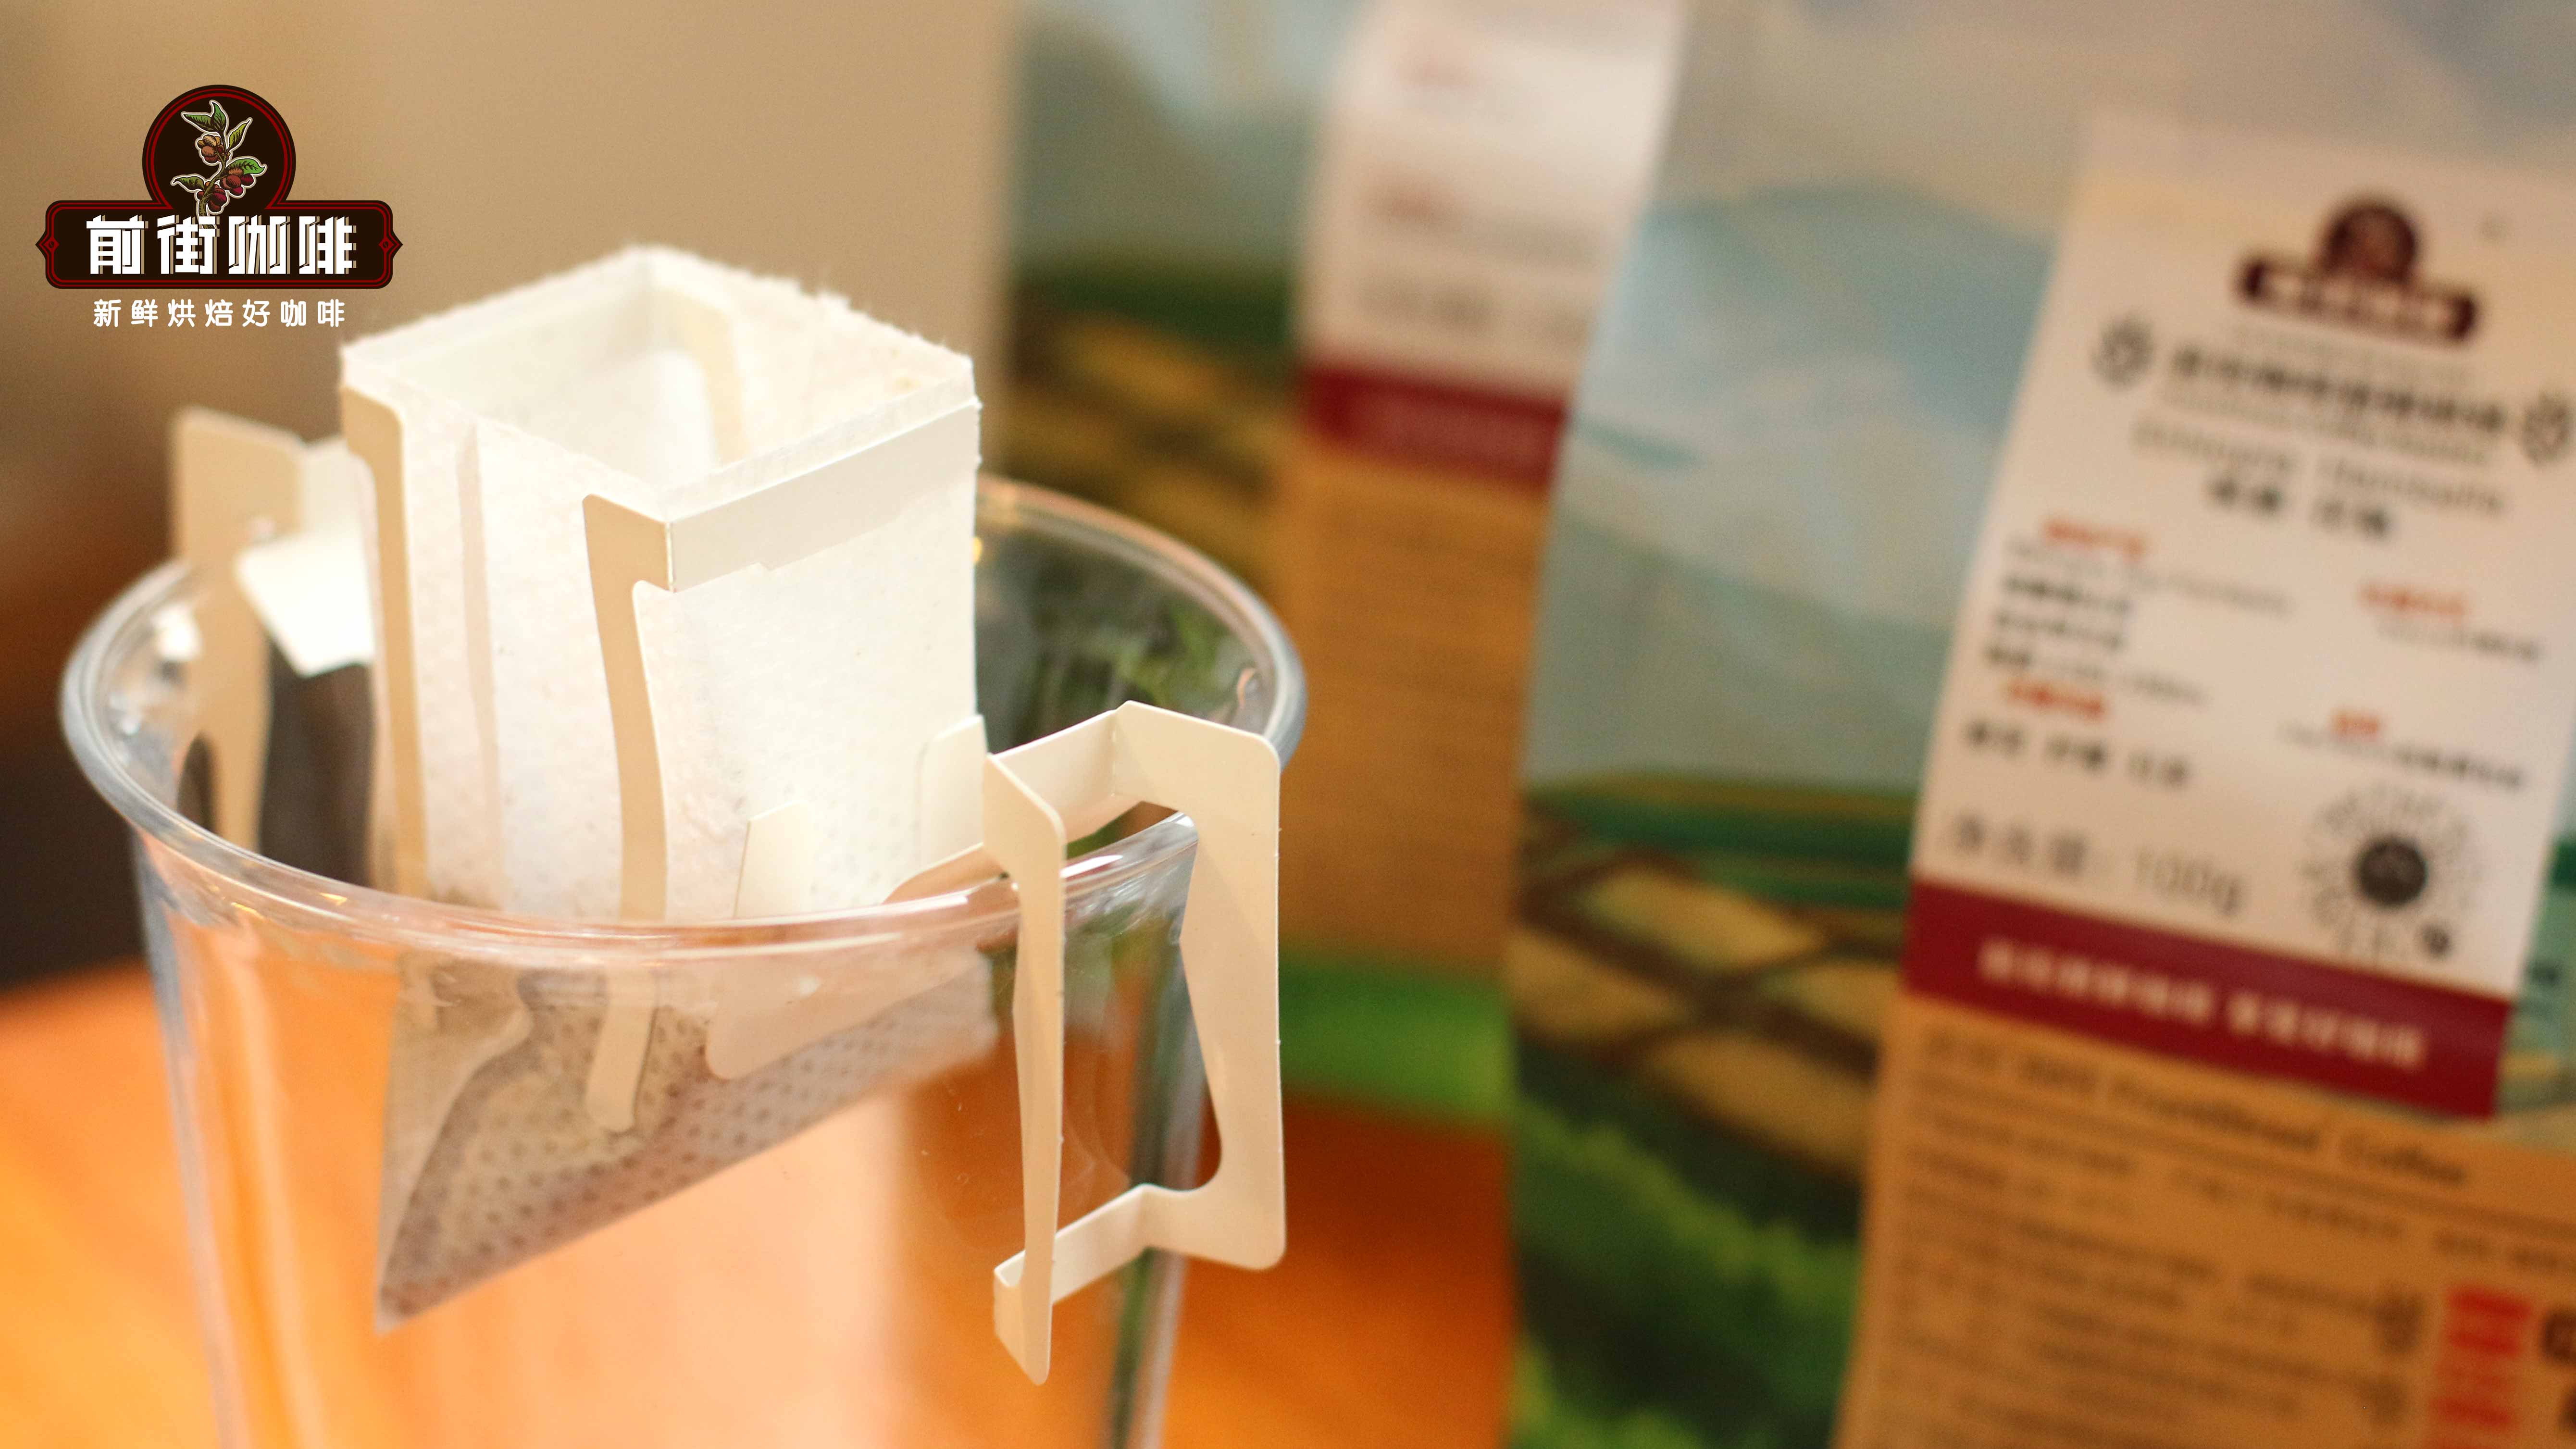
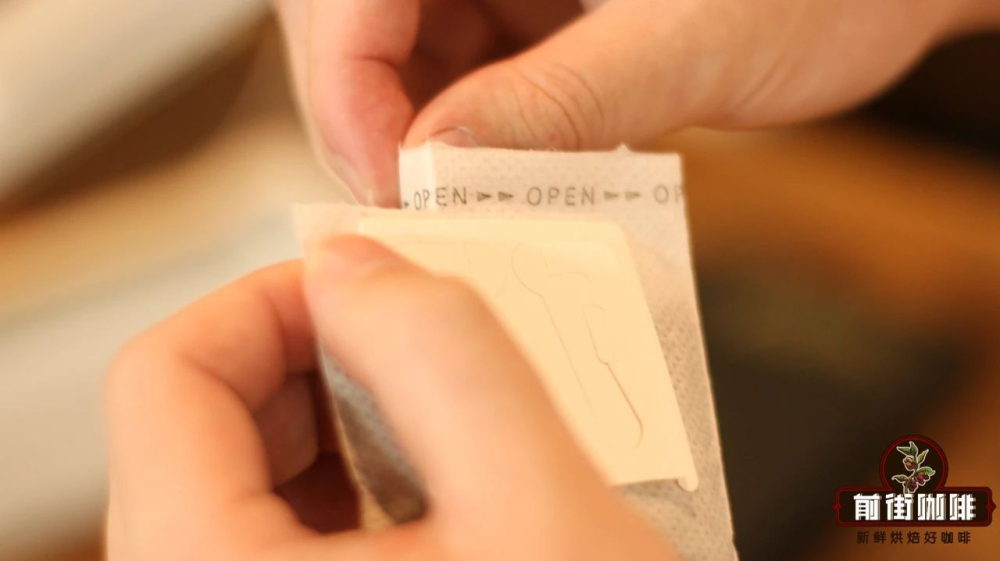
Step 1: Tear open the drip bag and hang it correctly
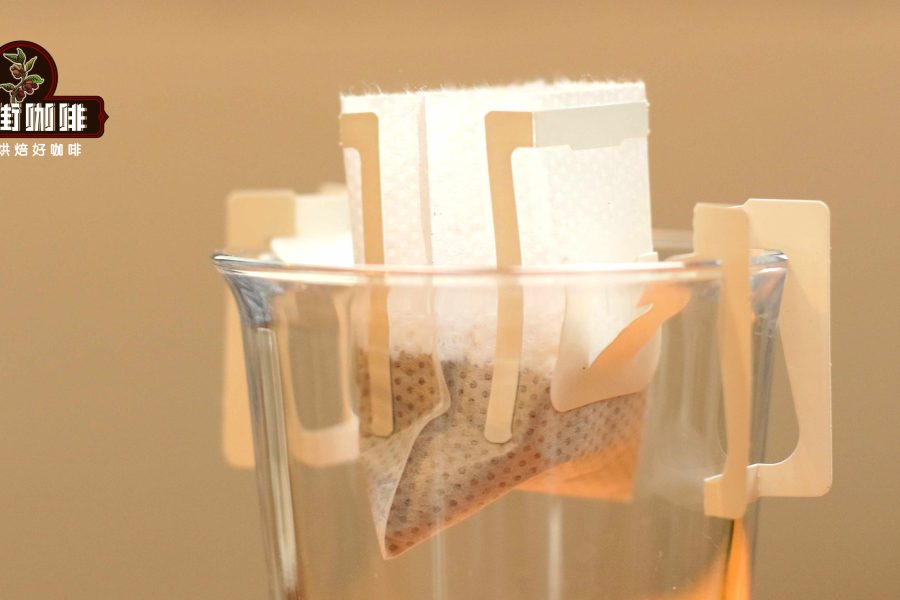
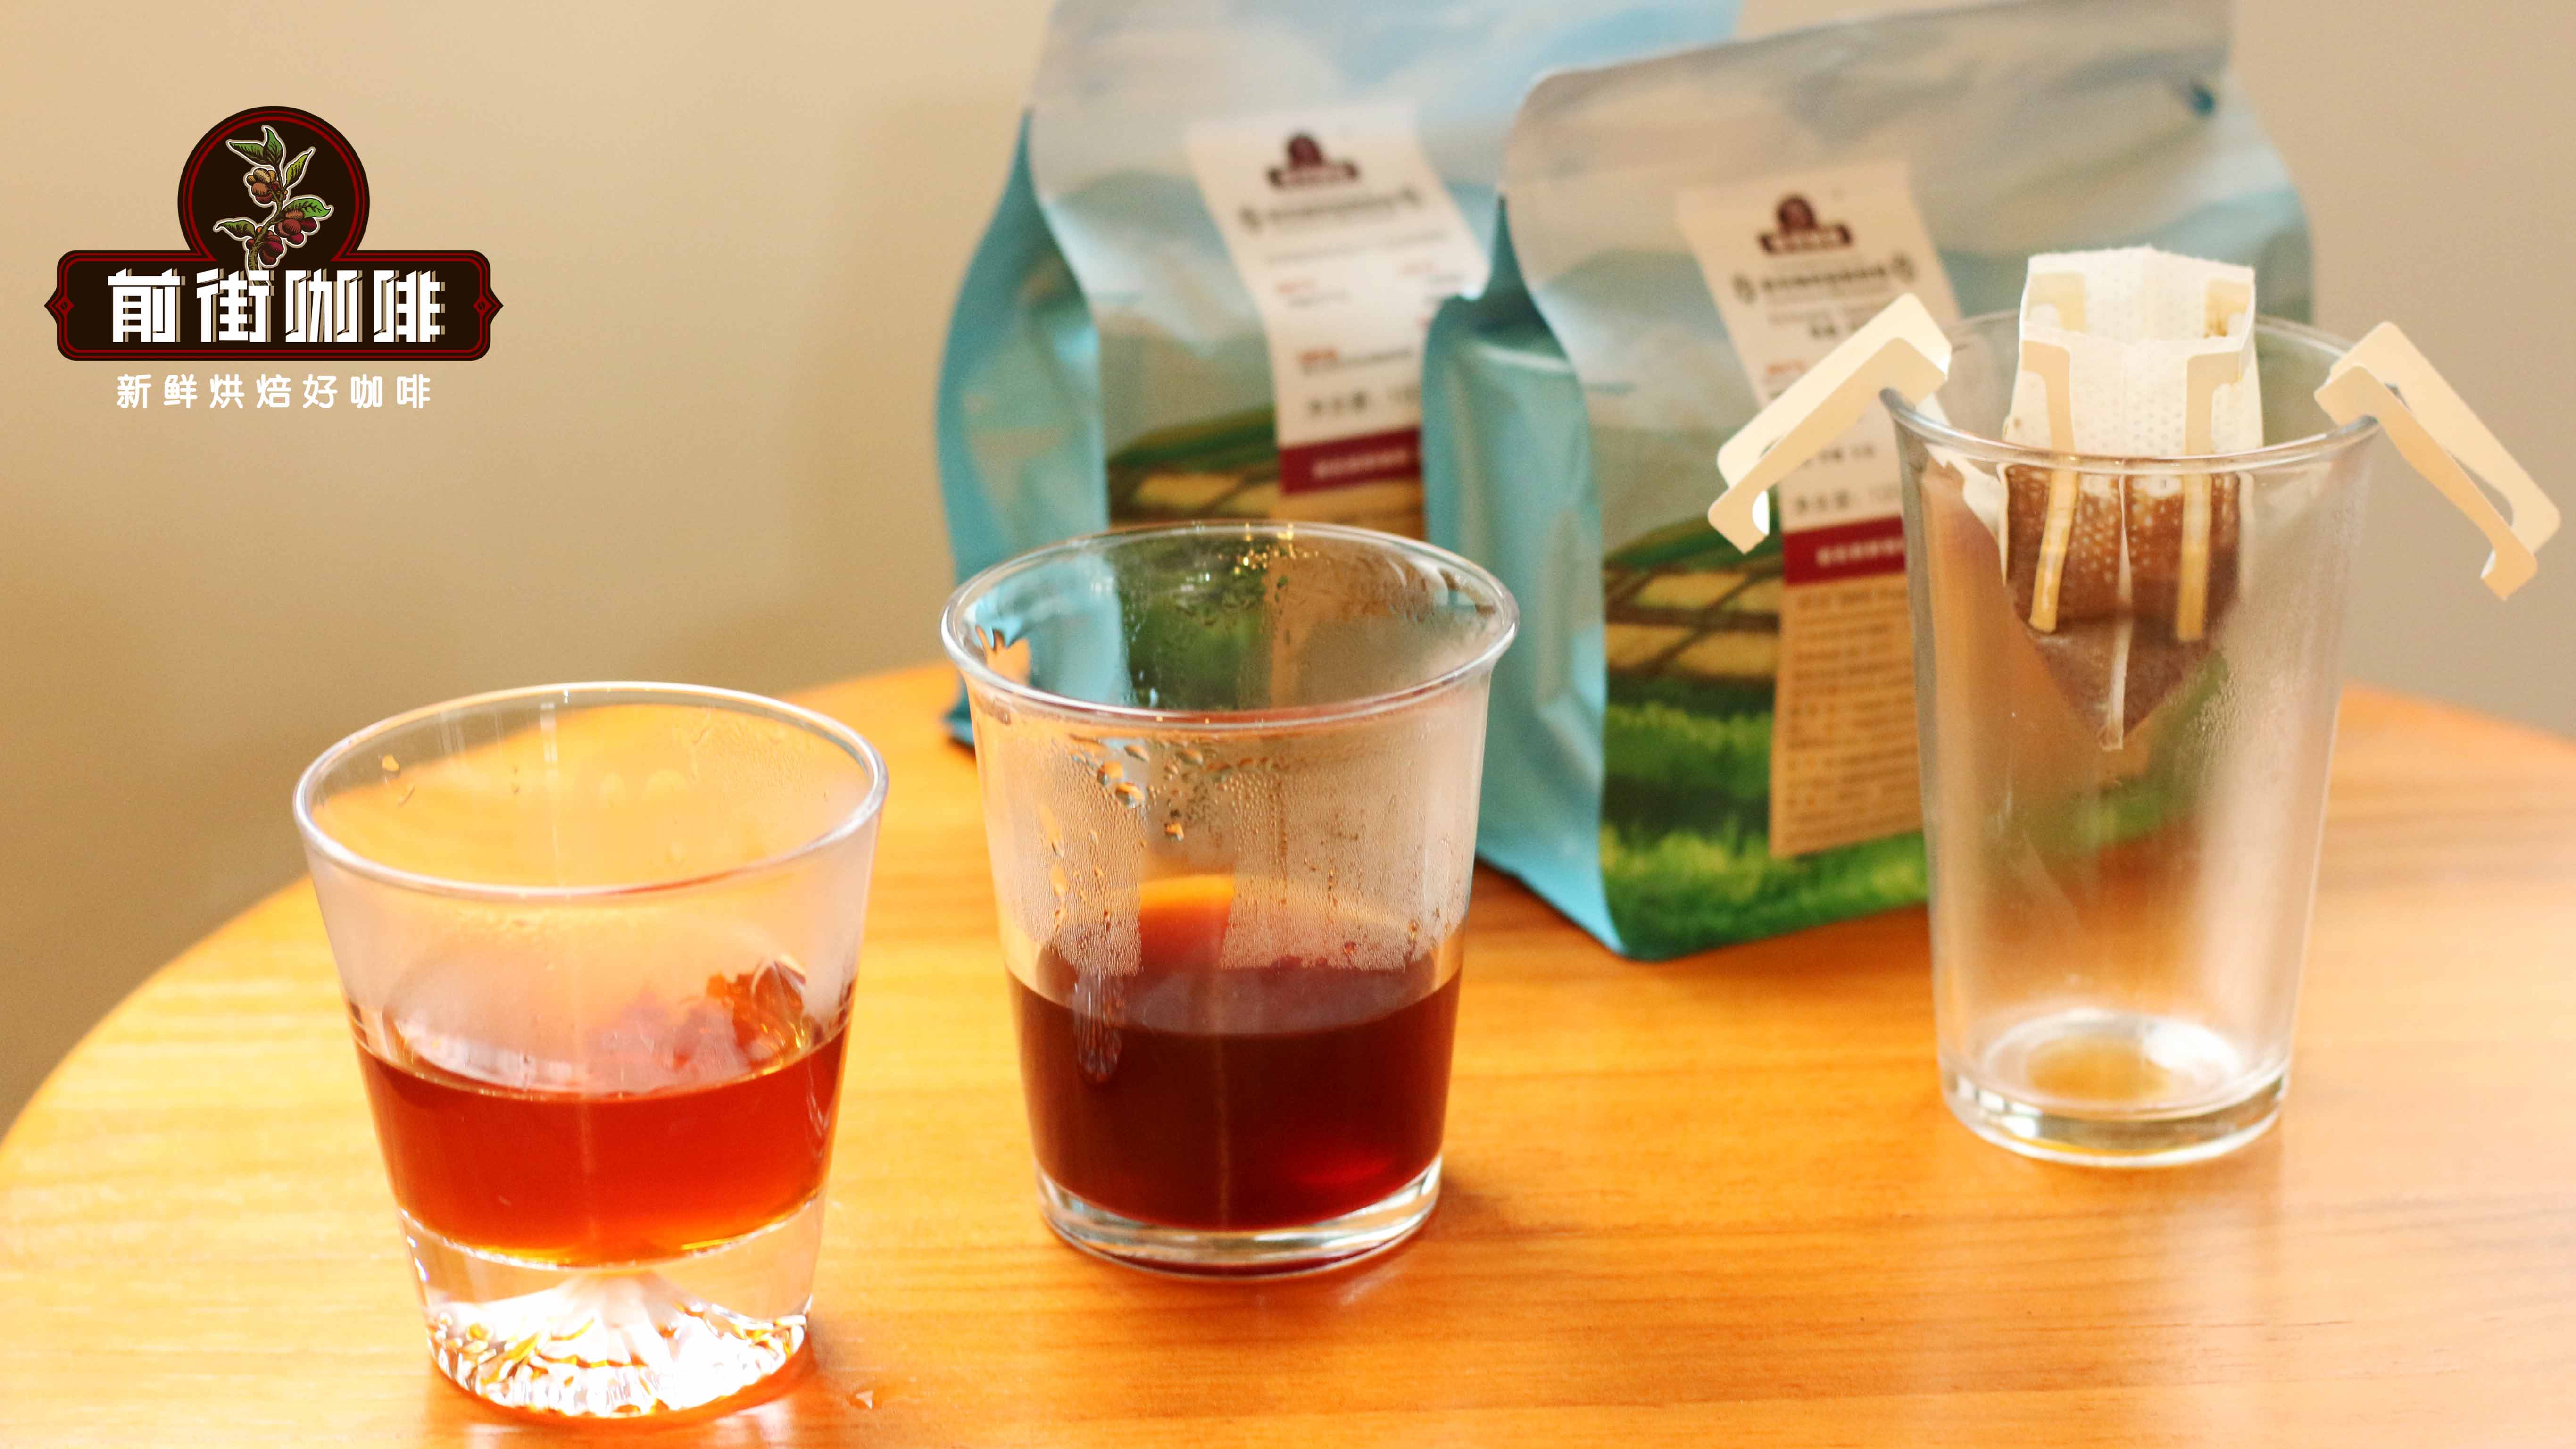
First, find the dashed line marked "OPEN" on the packaging and tear along it gently. Choose a cup with a moderate rim and a certain height so that the drip bag can rest securely on the rim. Unfold the "ears" on both sides of the drip bag outward, as if folding them into two small wings, and hang them steadily on both sides of the cup rim. This step ensures that the coffee grounds are evenly saturated during pouring and prevents the water stream from directly scattering the coffee grounds.
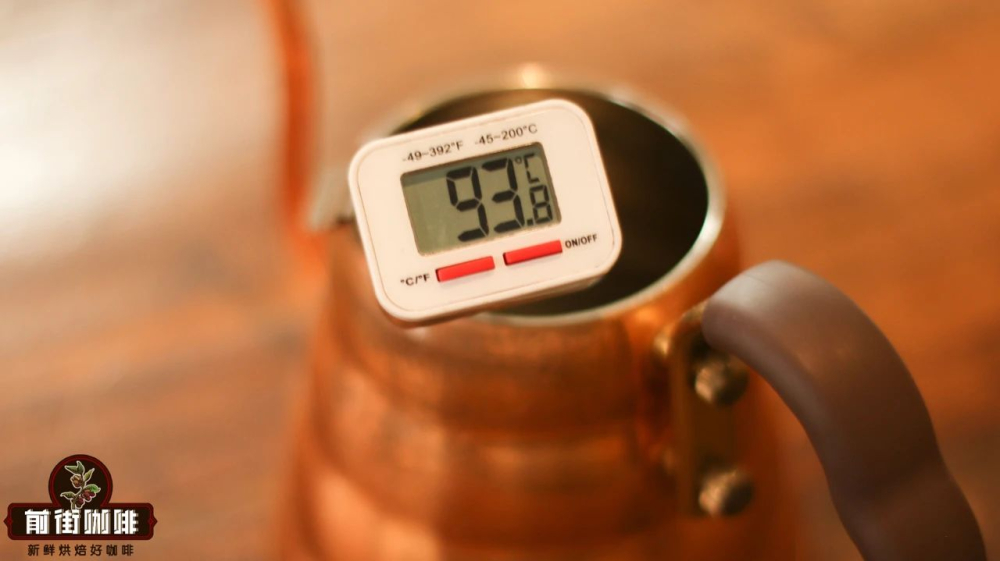
Step 2: Control the water temperature and bloom
Next is the pouring stage. It is recommended to use hot water at 88°C to 93°C. This temperature range can effectively extract the flavor compounds of the coffee without causing over-extraction or bitterness due to excessively high temperature. First pour in a small amount of hot water, just enough to cover the coffee grounds, then let it sit for 15–20 seconds to bloom. The purpose of this step is to release carbon dioxide from the coffee grounds and bring out the initial layers of aroma, laying a good foundation for the main pour that follows.
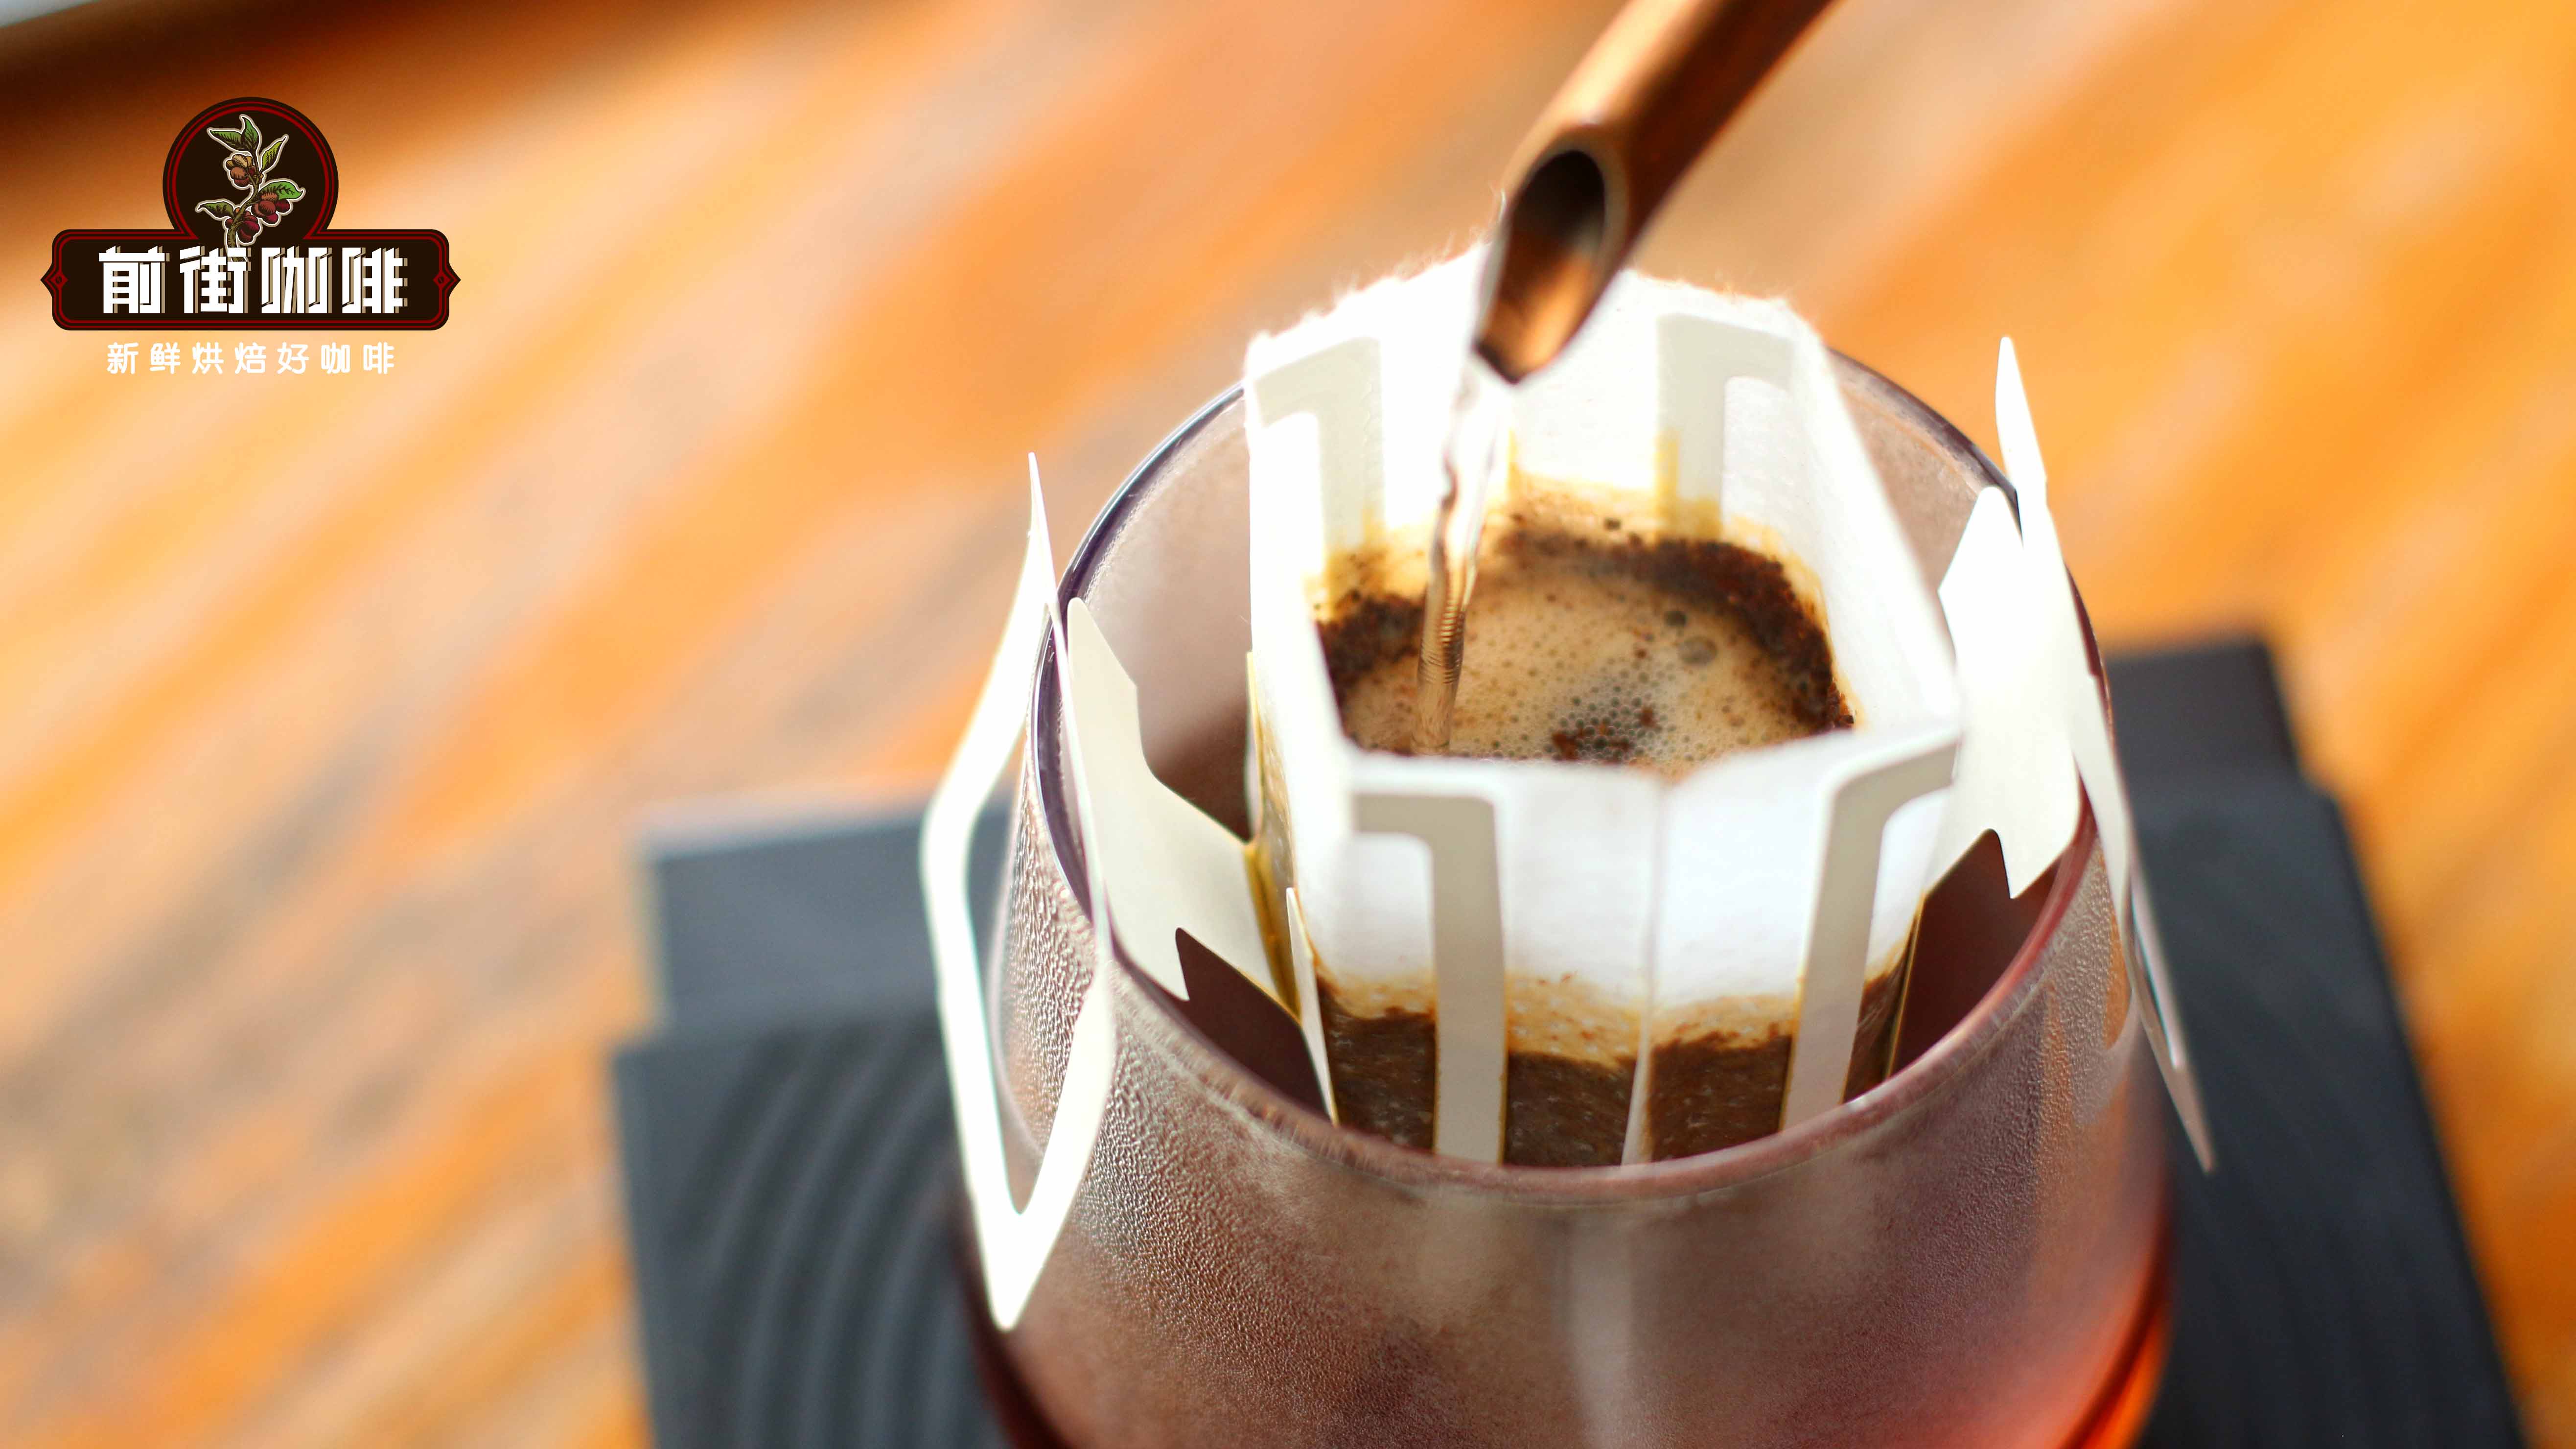
Step 3: Main pour and master the coffee-to-water ratio
After blooming, you can proceed with the main pouring step. Generally, the coffee-to-water ratio for drip bag coffee is around 1:15, meaning that if the coffee grounds are 10 grams, the total amount of water should be kept at around 150 milliliters. You can flexibly adjust the amount of water according to your preference for strength: if you prefer a rich taste, slightly reduce the water; if you like a light and mild flavor, appropriately increase it. There is no need for overly complex staged pouring; just maintain a small stream and pour slowly and evenly in circles until you reach your set amount of water. This method is simple and efficient and suits most occasions.
Step 4: Remove the drip bag and finish brewing
When all the water has dripped through, gently lift out the drip bag and discard it. Be careful not to let the coffee grounds flow back into the cup, and try to avoid prolonged soaking to preserve the best flavor. The entire brewing process usually takes 2–3 minutes, making it very suitable for a fast-paced life.
Step 5: Flavor adjustment and drinking methods
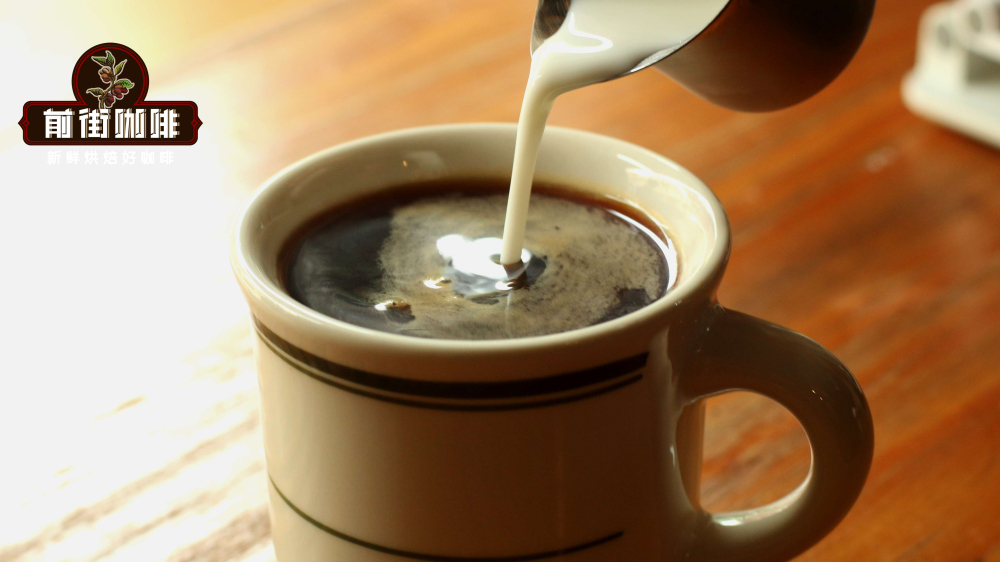
Freshly brewed drip bag coffee shows the most original flavor characteristics of the coffee beans, possibly with varying degrees of acidity, fruity notes, or body. If you prefer the purity of black coffee, you can drink it directly; if you find the flavor too bitter or strong, you can also add an appropriate amount of fresh milk, sugar, or honey according to personal preference to adjust the taste and make it easier to drink. For example, if you like a balanced milky flavor, try adding hot milk to make a simple "drip bag latte"; if you want sweetness, adding a small amount of honey is also a good choice.
Can drip bag coffee be re-brewed?
Regarding whether drip bag coffee can be brewed a second time, it is generally not recommended. The main reason is that the first brew has already extracted most of the soluble flavor compounds from the coffee grounds, including positive flavors such as acidity, sweetness, and body. During the second pour, although some components can still be dissolved, they are mainly the remaining bitter substances and impurities, and the overall flavor will become thin, noticeably watery, and more astringent. Although re-brewing will not affect your health, it is not ideal in terms of tasting experience. Therefore, it is recommended to enjoy the first brew each time to get the best flavor performance.
Used coffee grounds are also useful—don't throw them away casually
Used coffee grounds actually have many uses, such as placing them in the refrigerator or shoe cabinet to help absorb odors, or using them as natural fertilizer for plant cultivation. In addition, some people use them for exfoliating scrubs, making sachets, and other creative purposes. Making reasonable use of coffee grounds is not only environmentally friendly but also allows you to discover more everyday fun.