Clever Cup Brewing Guide: Ratio, Grind and Extraction Steps
Introduction: Want to recreate cafe-level flavor easily at home? The Clever Cup, a lazy-friendly brewing tool, uses its unique valve design to consistently deliver layered, rich coffee. This article not only breaks down the Clever Cup's working principle and operating logic, but also provides verified key parameters such as a 1:15 coffee-to-water ratio and medium-fine grind, along with step-by-step diagrams and common troubleshooting reminders, to help you brew clean, balanced pour-over coffee with the simplest equipment.
With the spread of specialty coffee culture, more and more enthusiasts are exploring the possibilities of home brewing. Among the many devices, the Clever Cup (Mr.Clever) has become the entry-level first choice for many coffee novices due to its low operating threshold and high flavor fidelity. This device, shaped like a conical dripper, uses a movable valve at the bottom to precisely switch between immersion and drip filtration; even if your pouring technique is unskilled, it can consistently extract coffee with balanced flavor.
The Clever Cup's core design is hidden at the bottom—when placed on a flat surface, the valve seat sinks and seals the filter hole, allowing hot water and coffee grounds to fully immerse; once set on a receiving vessel, the movable base is pushed up by gravity, revealing an annular gap that lets the coffee liquid drip slowly. This "steep first, drip later" two-stage extraction mode avoids the uneven water flow troubles of pour-over, while retaining brighter acidity than a French press, making it especially suitable for users who prefer fruity notes or a balanced mouthfeel.
Before brewing, gather the basic equipment: a digital scale accurate to 0.1 g to control the coffee-to-water ratio, a pour-over kettle that can stably output water at around 92°C (temperature control recommended), and V60-size round filter paper to ensure filtration efficiency. Special reminder: rinse the filter paper with hot water before use, which both preheats the device to avoid temperature loss and removes any paper pulp taste that might interfere with flavor.
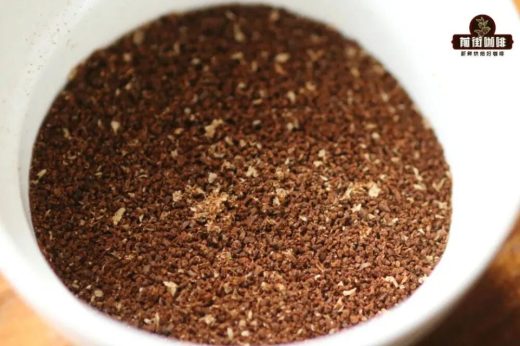
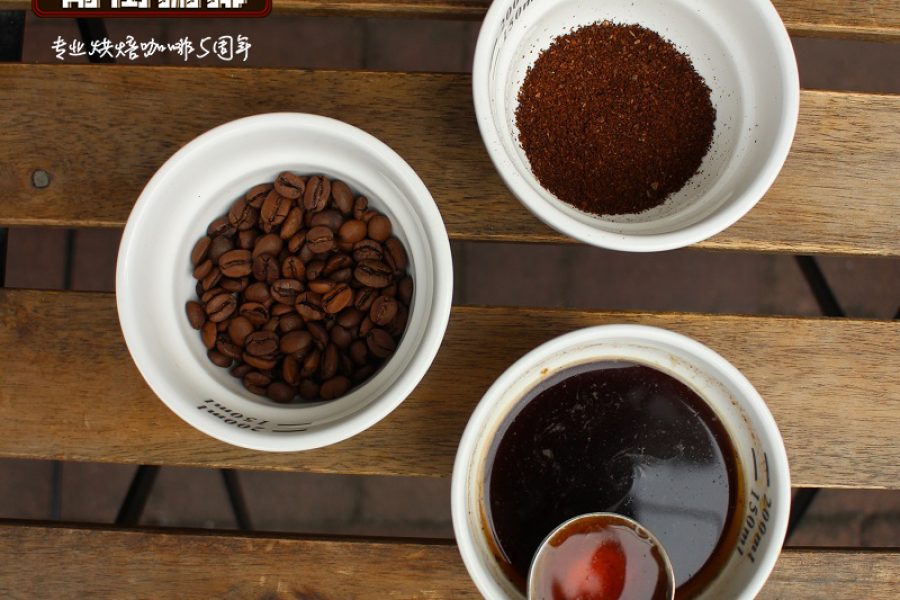
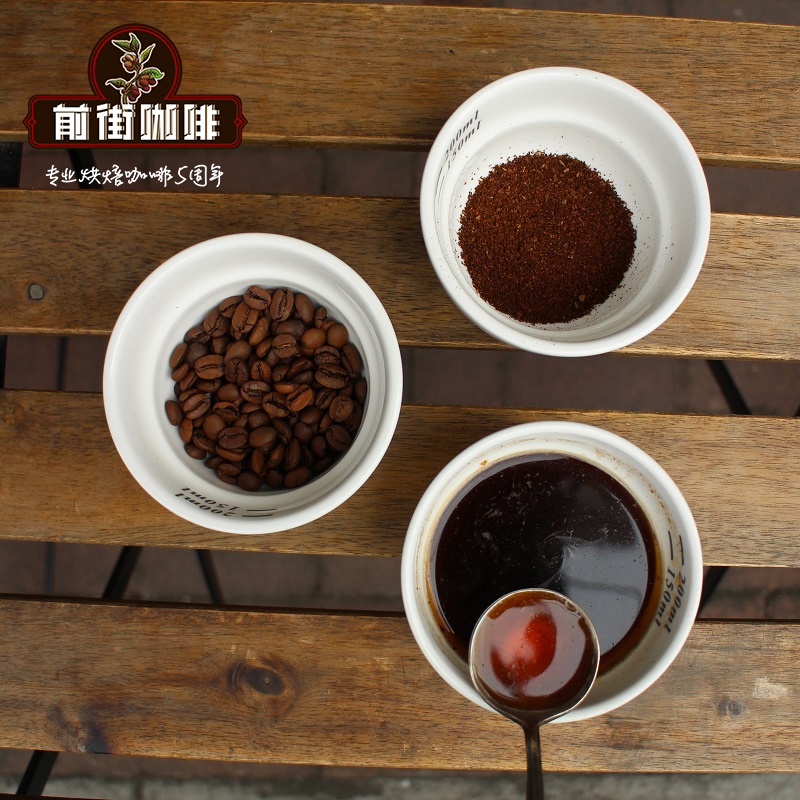
The standard brewing process starts with grinding—grind the coffee beans to a particle size similar to fine granulated sugar (slightly coarser than white sugar); this range ensures enough surface area contacts the water without being so fine that it causes over-extraction and bitterness. The recommended dose is 15 g of coffee to 225 ml of hot water, forming the classic 1:15 coffee-to-water ratio; this ratio has been tested many times and balances strength and mouthfeel. If you prefer a stronger flavor, adjust slightly to 1:14; for a lighter cup, extend to 1:16.
The pouring stage is divided into two key steps: first, pour in a small amount of hot water (about 30 ml) for a 30-second bloom; this step awakens the coffee grounds and releases carbon dioxide. Adjust the duration according to the roast date on the bag—for freshly roasted beans (within 1 week), extend to 45 seconds; for older beans, shorten to 20 seconds. Then slowly pour the remaining hot water in a circle around the center, gently stirring in circles three times with a stirrer or chopstick to help the water evenly penetrate the coffee bed and avoid local over-extraction.
After pouring, enter a 3-minute rest period, during which the coffee grounds and water continue to interact and release flavor compounds. When the timer ends, place the Clever Cup vertically on a server or mug; the valve seat is pushed up by gravity and instantly opens the drip channel. Watch whether the flow rate is even—ideally the coffee liquid should fall continuously in a thin stream; if the flow breaks or spurts, it may indicate an improper grind (too fine will clog the filter holes, too coarse will flow too fast and cause under-extraction).
For parameter optimization, keeping the water temperature in the 90–94°C range is safest; for light-roasted beans, raise it appropriately to 93–94°C to highlight floral and fruity notes; for dark-roasted beans, lower it to 90–92°C to avoid burnt bitterness. If you lack temperature-control equipment at home, let boiling water rest for 30 seconds before use (in a typical home environment it cools to about 92°C). Grind adjustment reference: hand grinder setting 3.5–4.5 (the smaller the number, the finer); for electric grinders, choose the "medium-fine" setting and observe the spent grounds after extraction—ideal spent grounds should be fluffy particles rather than fine powder.
Common troubleshooting: if the coffee tastes weak, try reducing the grind size or extending the rest time to 3 minutes 30 seconds; if bitterness is obvious, coarsen the grind and check whether the bloom was too long. Regularly clean coffee oil residue at the filter cup's valve seat; it is recommended to soak with a neutral detergent after every 5–8 uses to prevent decreased valve sealing that affects extraction stability.