Beginner's Guide to Latte Art Hearts: From Espresso to Pour

Introduction: Want to pour a cup of coffee with a beautiful heart pattern at home? This article takes you from zero to mastering the basics of latte art, focusing on how to create the classic heart pattern. Through a detailed three-step breakdown—espresso extraction, milk steaming, and pouring and integration—it helps coffee lovers understand every operational detail, improves your latte art success rate, and makes your coffee not only taste good but look better too.
The word "latte" in latte coffee comes from the Italian "latte," meaning "milk." Simply put, a latte is a drink combining milk and espresso. Although recipes vary slightly from shop to shop, a latte is usually made from a large amount of milk mixed with a small amount of milk foam and a small amount of espresso. This ratio makes the milk flavor more prominent, while the fine texture of the milk foam brings a smooth mouthfeel.
Beyond taste, another major reason lattes are popular is their delicate latte art, often called "coffee latte art" or "latte art." This is not only a demonstration of a barista's skill but also a symbol of a café's service quality. Many cafés assess latte art skills when hiring baristas. Today we'll use the most basic heart pattern as an example to teach you how to complete a latte with a heart, step by step from extraction to integration.
The whole process is mainly divided into three major steps: extracting espresso, steaming and frothing milk, and finally integrating and pouring the latte art. Mastering each stage is the key to beautiful latte art.
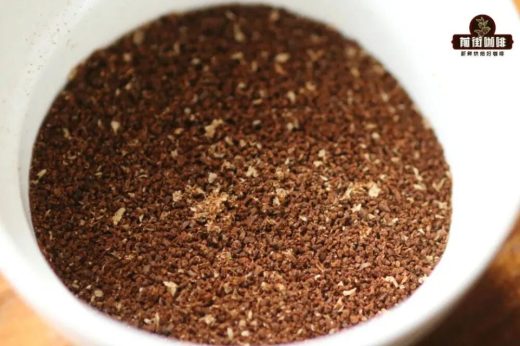
First is espresso extraction. This step is the core of the cup's flavor and directly affects the final taste and latte art performance. Before starting, remember to remove the portafilter basket and wipe it carefully to ensure the inside is dry and free of water stains, which helps the coffee grounds distribute evenly and extraction stay stable. Next, use a digital scale to weigh the coffee grounds precisely, ideally keeping the error within ±0.1 g to ensure consistent strength.
Distributing the grounds is a step many people tend to overlook, but even distribution avoids channeling and lets water pass through the coffee bed more evenly. When distributing, you can use your hand or a distribution tool to make the surface as level as possible. Then comes tamping: use a tamper with even pressure to compact the coffee puck, keeping the surface level and not tilted, so that water flows evenly during extraction and avoids local over-extraction or under-extraction.
Once everything is ready, gently lock the portafilter into the espresso machine and start extraction quickly. Watch the extraction time and liquid volume; generally, a single espresso yields about 30 ml in about 25–30 seconds. At this step, it's advisable to use a digital scale to monitor flow rate and total weight to ensure stable extraction parameters. After extraction, turn off the switch and remove the portafilter, and at the same time release some hot water to clean the group head so residue doesn't affect the next cup's flavor.
Next is steaming and frothing the milk. Lattes usually use relatively thin milk foam; foam that is too thick affects the flow of latte art and the clarity of the pattern. It's recommended to choose a milk pitcher of suitable capacity—for example, for a common 10 oz (about 300 ml) latte cup, pour in about 260 ml of milk.
When steaming the milk, insert the steam wand about 1 cm below the milk surface, turn on the steam, and first let the steam wand rise slightly to contact air so it draws in an appropriate amount of air to form microfoam (i.e., "frothing"). When you hear a "hiss," it means air is entering the milk; then slowly lower the steam wand so the milk temperature gradually rises, and stop at around 60°C. Be careful with the temperature: too high makes the milk too hot and affects the taste, while too low leaves the foam insufficiently stable. After frothing, the milk should be fine, smooth, free of obvious large bubbles, and glossy.
Finally comes **latte art integration and pattern drawing**. First, integrate the extracted espresso with the frothed milk; this step is crucial, as the quality of integration directly affects the contrast and clarity of the latte art pattern. Bring the milk pitcher close to the coffee surface and pour the milk slowly so it mixes fully with the espresso.
After integration, begin pouring the latte art. Lower the spout of the milk pitcher slightly to increase the milk flow rate, and use a wrist movement to make the milk form ripples on the coffee surface. At this point, pay attention to the foam's flow; if the foam is too thick, it's hard to form smooth lines. Good flow lets the ripples extend naturally, and as your wrist moves, it gradually guides the pattern into shape.
Finally, after the pattern takes shape, slowly lift the milk pitcher, narrow the milk stream, and give a gentle push forward to finish, forming a complete heart pattern. The whole process requires plenty of practice, especially wrist stability and control of the milk stream.
In practice, there are a few points to note: first, to form clear ripples, the foam should not be too thick and should flow well; second, integration should be even so the pattern contrasts sharply with the coffee base and the overall look is cleaner and crisper; finally, don't neglect the quality of the espresso—latte art is beautiful, but flavor is the soul of coffee, and poor extraction will affect the overall experience no matter how pretty the pattern.