How to Steam Silky Milk Foam: A Complete Guide for Home and Commercial Use
Introduction: Steaming milk is a key step in making lattes, cappuccinos, and other espresso drinks, directly affecting the texture and appearance of the final product. This article explains the scientific principles, techniques, and temperature control for steaming milk, helping you master the method for creating dense, silky foam. It also answers which milk steams best, applicable to both home steam wands and commercial semi-automatic espresso machines.

In espresso preparation, steaming milk is a core skill that cannot be ignored, especially for classics like lattes and cappuccinos, where the fineness of the milk foam directly determines the flavor and appearance of the drink. Whether you are a beginner or an experienced coffee professional, achieving uniform, fine, and lasting foam requires understanding the underlying principles and a standard workflow.

Steaming milk mainly consists of two stages: aeration and texturizing. First is the aeration stage, where air is injected into the milk through the steam wand; proteins in the milk encapsulate the air to form tiny bubbles—this is the beginning of the foam. Next is the texturizing stage, which not only heats the milk to the optimal drinking temperature but also eliminates large bubbles, making the foam texture smoother and finer, ultimately forming a dense microstructure.

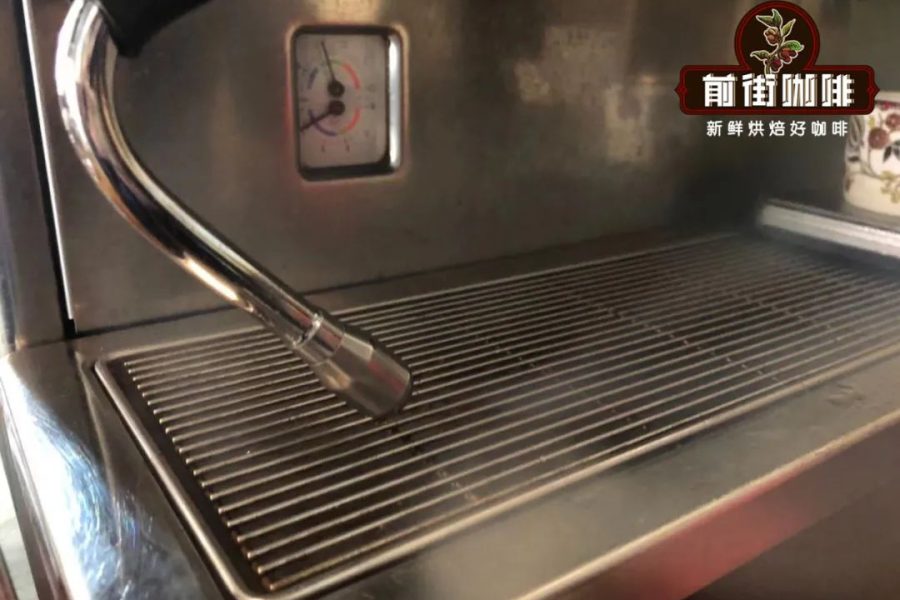
To complete this process, you need a semi-automatic espresso machine with a steam wand. Different models have slightly different steam wand designs, most notably the number of steam holes—commonly 2, 3, or even 4 holes. Generally, more holes mean higher steaming efficiency and finer foam. Additionally, a suitable milk pitcher is essential. As for milk choice, although UHT milk, chilled milk, whole milk, or skim milk can all be steamed, chilled whole fresh milk is the most recommended option for better foam texture, aroma, and stability.
Below are several key steps in actual operation:
Step 1: Determine the steaming capacity
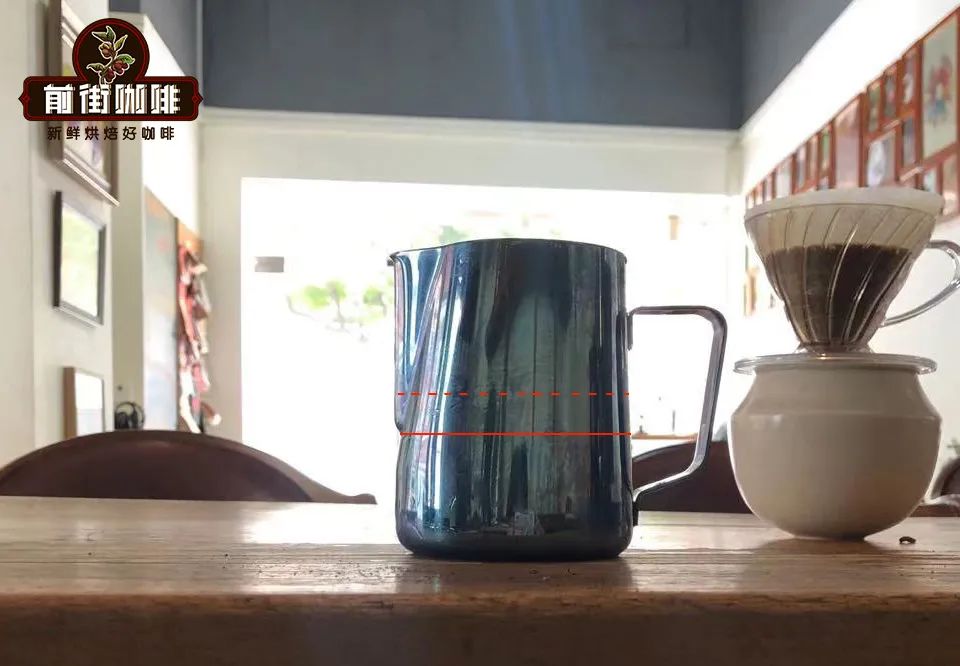
The amount of milk poured into the pitcher should be controlled between 40% and 60% of the pitcher's total capacity. This makes it easy to control foam thickness and avoid waste. For example, for a 550ml pitcher, pour about 250ml of milk, which just reaches the bottom of the spout, facilitating subsequent operations and observation of the foam state.
Step 2: Adjust the steam wand position
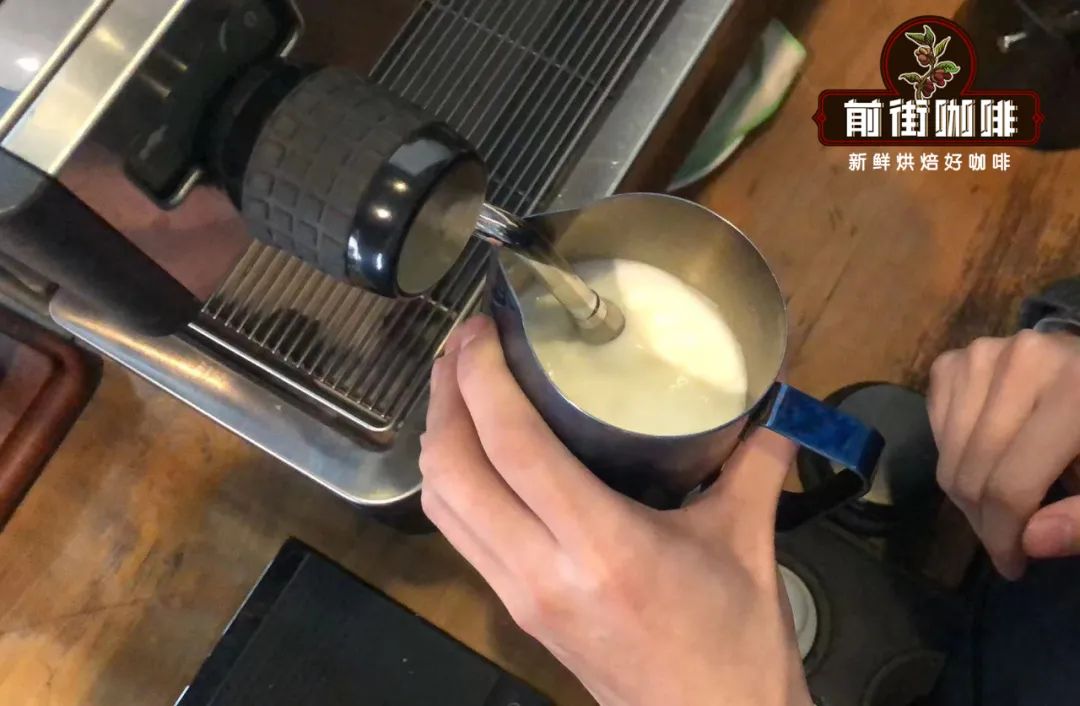
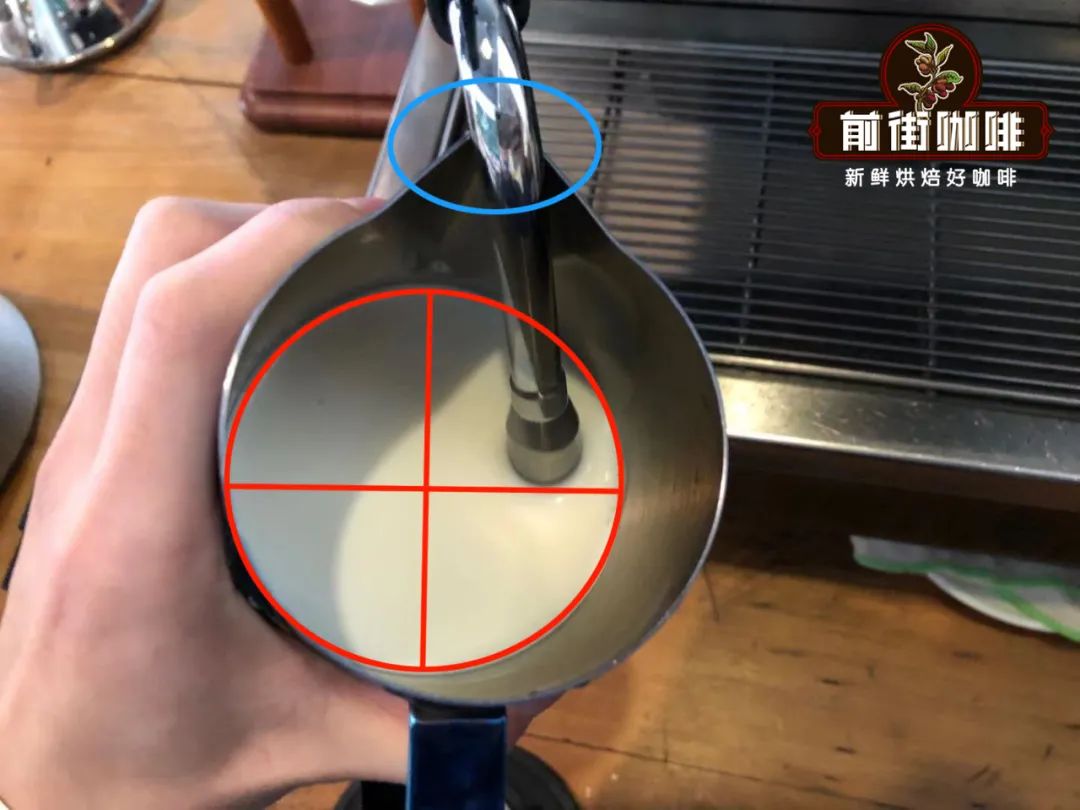
Before steaming, briefly open the steam wand to purge residual condensation, then adjust the angle. It is recommended to insert the steam wand into the milk at approximately a 45-degree angle, positioned slightly right of the center of the milk surface, so that the steam forms a counterclockwise vortex. The steam wand should be half-submerged in the milk to ensure air can effectively enter the milk while keeping the initial liquid surface stable.
Step 3: Aeration stage
After turning on the steam switch, you will hear a \"hissing\" sound, indicating that air is being injected into the milk. The focus of this stage is to control the steaming time and the increase in foam volume. For example, raising the milk volume from 50% to 60% (suitable for latte foam thickness) usually takes only about 3 seconds. During this stage, observe the foam formation and try to keep the milk rotating as a whole to form a uniform vortex, which helps air mix evenly.
Step 4: Texturizing stage
Once the foam has initially formed, enter the texturizing stage. The goal of this step is to further refine the foam, heat it, and remove large bubbles. At this point, fully submerge the steam wand into the foam layer (but do not touch the bottom) and only heat without further aeration. The heating temperature should be controlled between 55 and 65°C, the optimal range for balancing foam texture and sweetness. Exceeding 70°C may cause protein denaturation and collapse of the foam structure.
After steaming, high-quality foam should have a thick consistency similar to set yogurt when swirled, with a surface as smooth as a mirror and a soft, fine feel. These characteristics indicate that your foam structure is stable and the air is evenly distributed—key signs of success.
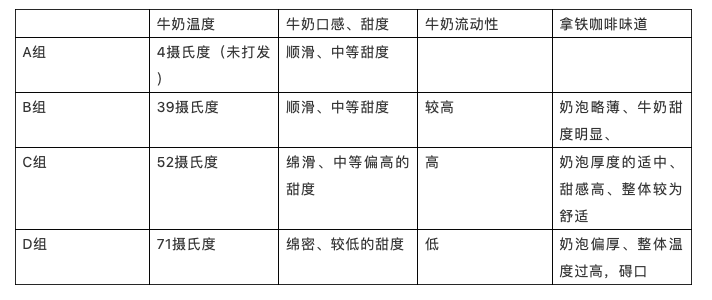
Why control the temperature at 55–65°C?
Temperature is one of the key factors affecting foam texture and flavor. From a compositional perspective, the fat, sugar, and protein in milk all behave differently as temperature changes:
Fat enhances the persistence and richness of foam; a moderate amount of fat can make foam last longer, but when fat is too low, it is actually easier to produce abundant foam. Lactose is the natural source of sweetness in milk, but sweetness diminishes at high temperatures, so a moderate temperature helps release sweetness. Protein undergoes structural changes during heating, forming surfactants that wrap around air bubbles, but once the temperature exceeds 70°C, proteins denature, destroying the foam structure and causing it to collapse and separate.
Overall, heating and holding milk at 55–65°C not only improves foam fineness and stability but also brings out richer sweetness and a smooth mouthfeel, making it the ideal range for both home and commercial preparation.