No Coffee Grinder? 6 Practical Alternatives and a Pour-Over Grinding Guide
Introduction: Need freshly ground coffee on short notice but can't find a grinder? This article details six home grinding alternatives, from kitchen tools to professional techniques, to help you handle different brewing needs. It focuses on how to control grind size by adjusting tools and pressure, with practical tips especially for the medium-fine grind required for pour-over coffee, along with a comparison of the pros and cons of each method and operating precautions.
Bought whole coffee beans only to find you have no grinding equipment at home? Don't worry—even without a professional coffee grinder, you can still grind coffee beans with a variety of everyday tools. This article systematically introduces six practical alternatives and focuses on how to adjust the grinding results for different brewing methods.
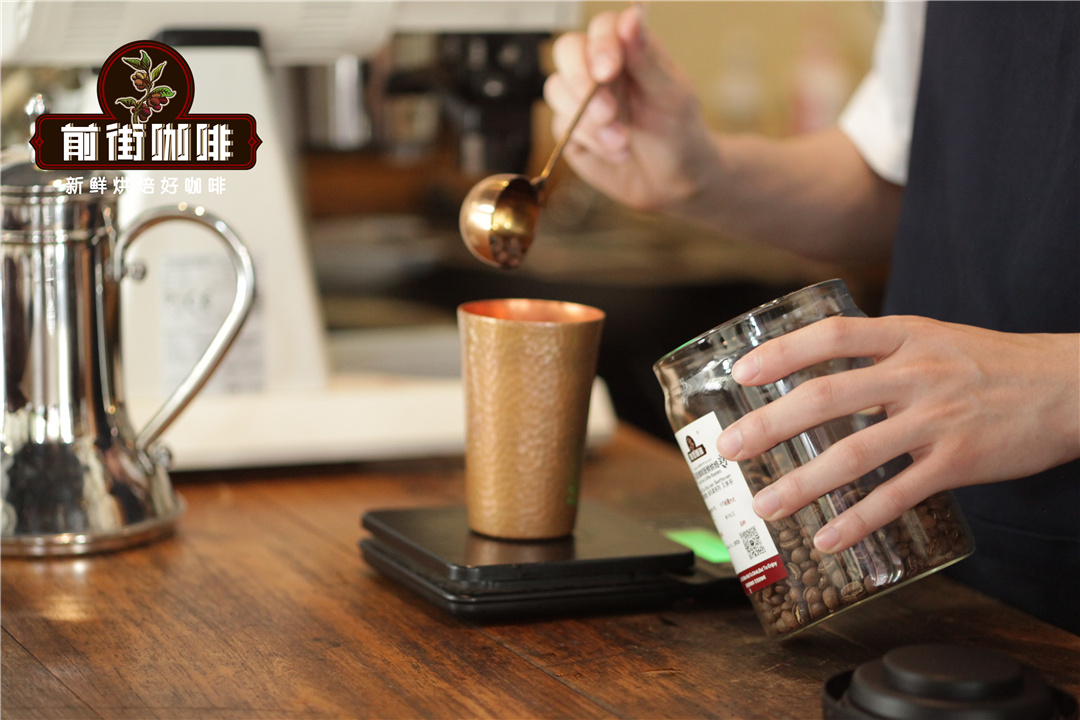
The most common alternative tools include electric devices such as blenders and food processors, as well as manual tools such as rolling pins and mortars and pestles. Electric tools are suitable for processing larger batches of coffee beans, but take care that the amount ground at one time does not exceed one-third of the container's capacity, to avoid the motor overheating and affecting grinding uniformity. Test data shows that such tools can usually only reliably produce a medium-coarse grind, making them better suited to brewing methods that require a coarse grind, such as the French press.
For pour-over coffee, which requires a fine grind, the mortar and pestle combination is recommended first.During operation, it is suggested to grind in three stages: first crush coarsely, then gradually apply pressure for a medium-fine grind, and finally pick out the beans that are not fully broken and process them again. Professional baristas remind that when using the pestle, you should keep your wrist vertical when applying force, to avoid horizontal crushing that causes the coffee grounds to overheat. If you want a more uniform particle distribution, you can first crack the coffee beans with a rolling pin and then grind them finely.
Manual meat grinders and garlic presses are effective tools that are easily overlooked. When using them, note that the amount of beans put in each time should not exceed half of the container's capacity, and keep an even rhythm during grinding. Tests have found that by adjusting the number of grinding turns (8–10 turns per batch for medium-sized beans is recommended), you can control the grind size between coarse sugar and fine salt, which exactly meets the needs of most drip coffees. However, these tools tend to retain oils, so clean them promptly after use to avoid mixing flavors.
When you only have basic kitchen tools, the combination of a rolling pin and a sealed bag is worth trying.There are three key steps: first, spread the beans in a single layer and roll back and forth with the rolling pin using steady pressure; second, adjust the pressure according to your needs—light pressure gives particles similar to coarse sugar (suitable for a French press), while heavy pressure gives an effect close to fine salt (suitable for pour-over); finally, use a sieve to separate the beans that are not fully broken and process them a second time. Note that you should choose a wooden or silicone rolling pin, to avoid metal materials generating too much static electricity that attracts coffee grounds.
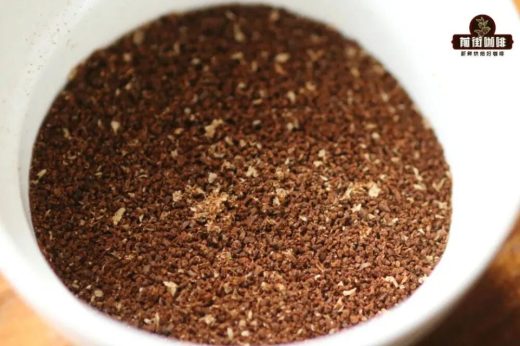
Professional advice on grinding uniformity: no matter which tool is used, the final coffee grounds should show a multi-level particle distribution rather than a single particle size. The ideal state is for 70% of the particles to reach the target grind size, with the remaining 30% containing slightly coarser and slightly finer particles to improve extraction balance. To test the grinding result, pour the coffee grounds onto white paper and observe—a high-quality grind should show a natural gradient from light to dark rather than obvious layering.
Special reminder: when grinding with non-professional tools, it is recommended to grind just before use and to control the total amount ground. Once coffee grounds are exposed to the air for more than 15 minutes, the aromatic substances begin to noticeably dissipate. If you really need to pre-grind, store the grounds in a sealed jar and place it in a cool place, but the best flavor will still gradually diminish within 4 hours.