Latte Art Beginner's Guide: Tulip, Rosetta, and Multi-Layer Heart Step by Step

Introduction: Many coffee enthusiasts trying latte art for the first time are often puzzled when they cannot reproduce a pattern they happened to get right once. This article systematically explains the core criteria for judging latte art and the practical procedures for three basic patterns—tulip, rosetta, and multi-layer heart—covering everything from adjusting milk foam thickness and optimizing the integration technique to pattern rescue strategies, offering practical methods to reduce the failure rate, and using key parameters to help beginners develop a stable feel for latte art.
Many coffee novices have had this experience: during one practice session they happen to pour a beautiful pattern, but no matter how they try afterward, they cannot reproduce it. In fact, the criteria for judging a good latte art latte are hierarchical. The top priority is the fine texture of the latte art surface; next is how evenly the milk foam and coffee liquid are integrated, focusing on the clarity of the boundary between the 'golden ring' and the pattern area; only last comes the performance of the pattern itself—as long as the texture is clearly discernible and the shape's outline is distinct, there is no need to overly pursue complex designs.

To achieve the above results, continuous practice to develop a feel for the operation is crucial, and this cannot be replaced by theoretical study alone. However, mastering a few key techniques can effectively reduce the probability of latte art mistakes. First is adjusting milk foam thickness—beginners attempting etching techniques are advised to appropriately increase milk foam thickness. Etching usually requires thinner milk foam to ensure flow, but milk foam that is too thin easily leads to uncontrolled lines, deformed patterns, or even failure to form at all. For example, when the milk amount is controlled at 5 parts full in the container, if the milk foam is steamed to 5.5–6 parts full (thinner state), the pattern may go awry during pouring; in this case, the milk foam can be steamed to 6.5–7 parts full (slightly thicker). Although this makes the etched lines slightly thicker, it significantly improves operational stability, which is more important for everyday output.

Second is optimizing the integration stage. If you encounter difficulties in the basic integration step, you can pour a small amount of milk foam (or milk) before the formal integration, and gently shake the coffee cup to pre-mix this portion of liquid with the espresso. This operation helps the coffee crema and milk foam integrate more evenly, avoids the 'whitening' phenomenon during subsequent integration, and ensures the overall liquid surface is clean and tidy.

For beginners, persisting in starting with simple patterns and practicing repeatedly is the key to solidifying the foundation. Take the most common 'big white heart' as an example: although many baristas need only about 10 practices to pour the basic shape, it is easy at this point to develop the illusion of 'complete mastery' and rush to challenge more complex patterns. In fact, this basic stability often depends on specific conditions (such as milk foam state, pouring angle, etc.), and a slight deviation can cause the pattern to deform. The safer approach is to focus on practicing the same pattern until every operation produces a highly consistent shape, and then gradually advance to other designs.

In addition, responding flexibly to unexpected situations is also an important part of latte art skills. When the actual poured result differs greatly from the intended pattern, you need to quickly adjust your strategy. For example, when drawing a heart pattern, if you find the drop point is too far forward (causing the overall pattern to shift), forcing yourself to continue may make the heart lean forward as a whole; at this point you can immediately switch to pouring a rosetta or pushing a tulip. Another example: if you find the cup is not yet full when finishing the heart, you can temporarily skip drawing the tail lines and instead push 1–2 small hearts to combine into a three-layer tulip pattern, which both fills the space and maintains visual harmony.

The following are the specific operational key points for the three basic patterns:
• Tulip: Layering is created by repeatedly stacking and pushing patterns; keep the spacing between each layer of petals even, start from below the center of the container, and gradually expand upward;
• Rosetta: Focus on controlling the tilt angle of the milk pitcher and the stability of flow rate; the main vein of the leaf should be clear and straight, with the leaf edges on both sides forming natural curves;
• Multi-layer heart: Composed of multiple mini hearts stacked together; pay attention to the alignment of each layer's drop point and the decreasing size relationship, and the bottom heart can be slightly larger to enhance the three-dimensional effect.
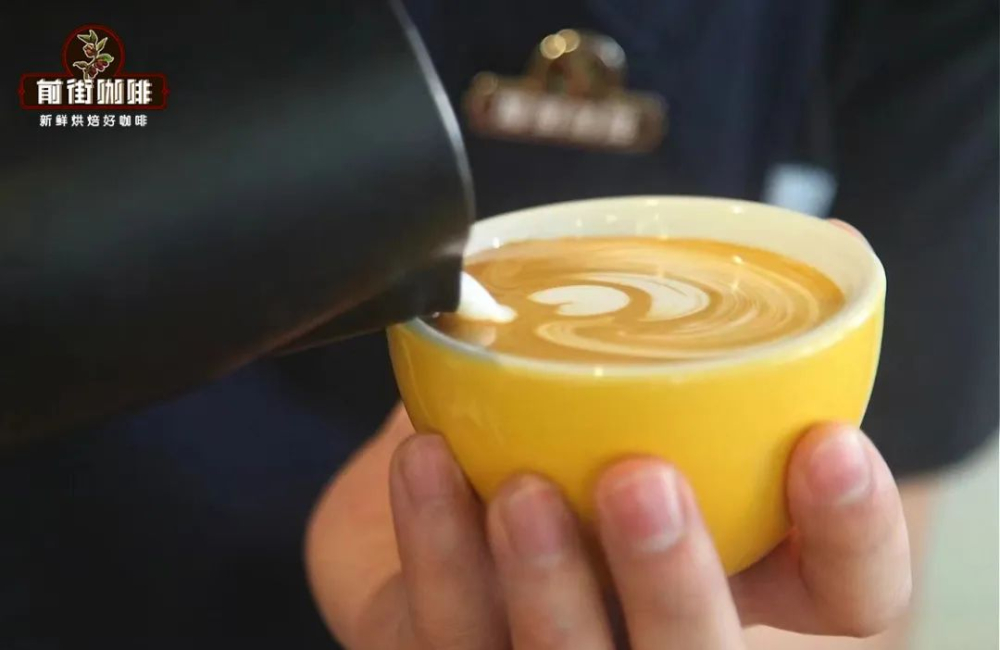
During practice, pay special attention to: milk foam steaming state (coarseness/fineness), initial pouring height (usually 10–15 cm from the liquid surface), and wrist swinging frequency (maintain a uniform and stable pace)—these are the three core parameters affecting pattern quality. It is recommended to record successful and failed cases after each practice, and compare and analyze the differences to make targeted improvements.
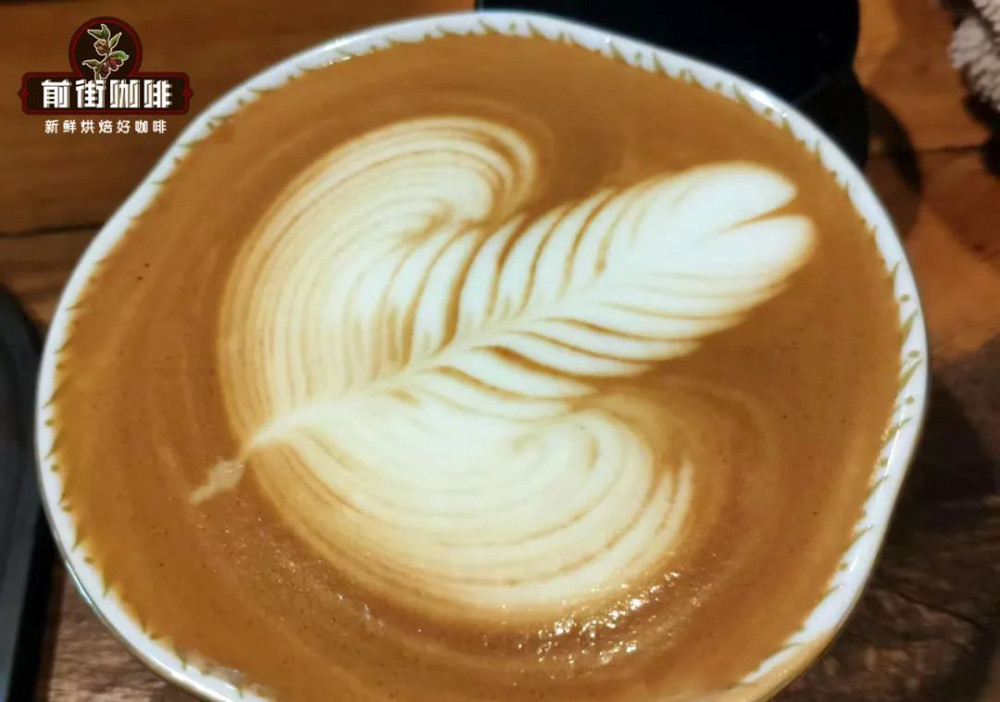
Through systematic basic training and the cultivation of flexible response capabilities, even beginners can gradually master the core techniques of latte art and ultimately achieve stable output of latte works that combine both aesthetics and quality.