Pour-over coffee pouring techniques: a beginner's guide to water control
Introduction: Pouring water for pour-over coffee looks simple, but it actually requires precise control of water flow and rhythm. Many beginners often run into problems such as unstable flow and an uneven coffee bed, which usually stem from insufficient water-control skills. This article explains the key techniques of pour-over pouring in detail, including spout selection, water volume control, holding posture and systematic practice methods, to help you improve pouring stability in a short time and brew a more even coffee bed and ideal flavors.
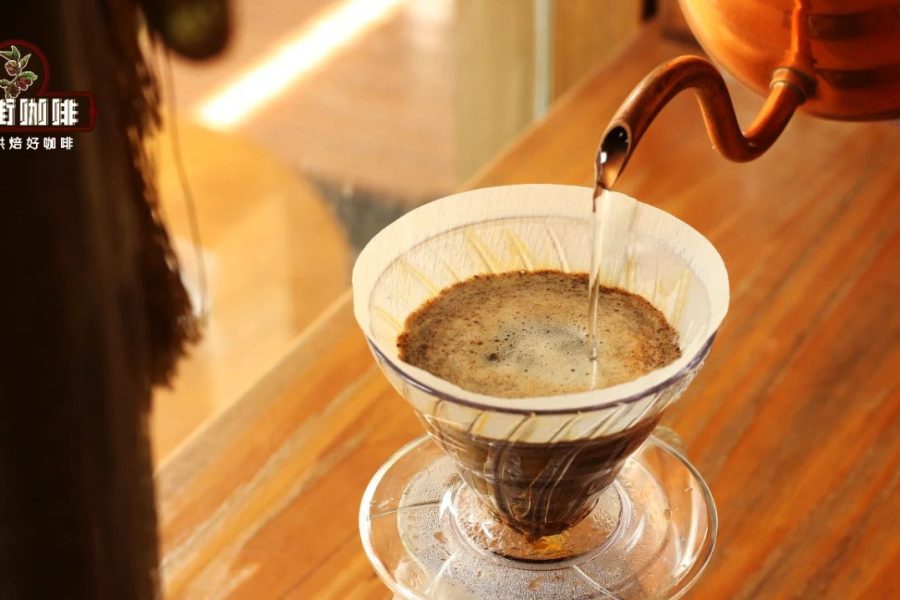
Many friends who have just started with pour-over coffee find that controlling the water flow is far harder than they imagined. The flow is sometimes strong and sometimes weak, intermittent, or even shaky hands make the pouring path unstable—all of these problems directly affect the evenness of coffee extraction. The final state of the coffee bed often directly reflects problems in the pouring process.
The core reason for these problems is that "water control" is a skill that requires long-term practice. Before muscle memory is formed, beginners find it hard to precisely control the stability of the water flow. However, as practice increases, usually after about two and a half weeks of systematic practice, most people can gradually master the ability to adjust the water flow freely. If you want to speed this up, after mastering a few key techniques, you can achieve relatively stable pouring in as little as three days.

For early learners, it is advisable not to invest in too much equipment at once. Apart from the grinder, for which a better-quality model is recommended, other equipment can start with basic configurations. By practicing with different types of coffee beans, you can both accumulate brewing experience and improve your ability to identify flavors at the same time.

Pour-over coffee usually uses single-origin beans. The flavor characteristics of these beans from specific regions are influenced by multiple factors such as origin, variety, processing method and roast level. A common beginner mistake is blindly pursuing high-end beans labeled "competition grade" or "rare variety," only to find them expensive and difficult to understand in flavor, ultimately wasting the whole bag.
A more practical approach is to choose beginner-friendly beans according to personal taste preferences. For example, those who like pronounced acidity can try beans from Ethiopian regions; those who prefer a soft sweet-and-sour profile will find beans from Central American regions such as Costa Rica and Rwanda a good choice; if you want to reduce acidity, Yunnan's small-bean coffee is more suitable; those pursuing nutty and chocolate notes with low acidity can consider roasted beans from Brazil or Colombia; and users who prefer a full-bodied taste and dislike acidity will often find beans from the Sumatra region of Indonesia more satisfying.



[Technique 1] Choosing the spout of a pour-over kettle
The spout design has a crucial impact on pour-over water control. Beginners are advised to prioritize kettle types with a "long neck and thin spout" design. These spouts usually have a downward-curving arc that allows more precise control of the water flow direction and speed. The specially designed spout structure helps stabilize the water output and is especially suitable for beginners who are developing a feel for water control.
Note that this type of spout also has certain limitations—it is relatively difficult to achieve large-flow or fine-drip operations, and it is less versatile. If you have already purchased a regular straight-spout kettle, experienced enthusiasts can physically modify it into a shape more suitable for water control, but only on the premise that the kettle material allows such adjustment and that it does not affect safety in use.


[Technique 2] Strategies for controlling water volume
The amount of water stored in the kettle directly affects the stability of water control. Experiments show that keeping the kettle body heavy enough (usually more than half a kettle of water is recommended) can effectively reduce the difficulty of operation: a heavier kettle naturally sinks, helping to maintain balance of the center of gravity; at the same time, it reduces the tilt angle needed to obtain a vertical stream, making the pouring process smoother.
Pay special attention to the fact that, apart from the blooming stage, a complete pour-over process usually requires continuously lifting the kettle for about one and a half minutes. This can be a challenge for users with weaker wrist strength. It is advisable to adjust the water volume according to your own condition and adapt gradually through step-by-step practice. As practice deepens, the arm muscles will naturally form a memory for a specific weight, and subsequent operations will become easier.

[Technique 3] Optimizing the holding posture
Professional baristas generally use a one-handed pouring method, which is built on strength and coordination formed through long-term training. For beginners, a more reliable approach is the two-handed kettle-holding method: hold the handle with the right hand to control the water output, and gently support the lid with the left hand for stability. This posture not only significantly reduces the burden on the right hand but also enhances overall stability through the coordination of both hands, which is especially helpful for beginners to control complex pouring paths.

[Technique 4] Systematic pouring practice methods
The key to mastering stable pouring lies in staged practice:
1. Vertical stream control: First practice continuously outputting a vertical stream at a fixed point. As the water in the kettle decreases, dynamically adjust the tilt angle of the kettle body to maintain the verticality of the stream—this is similar to the principle of adjusting the cup angle as the liquid level drops during latte art.
2. Circular path training: On the basis of ensuring a vertical stream, practice circular pouring. You can use a fixed-radius circular motion, or a gradually expanding "mosquito-coil" path (expanding from a small circle to a large circle and then contracting). It is recommended to first use the upper arm to drive the kettle body to move, keeping the pouring height consistent, and then gradually increase the rotation speed later. Through this layered training, you will ultimately achieve precise control of the water flow at any speed.


During practice, it is recommended to observe the distribution of the water flow landing points with the help of marked points in the pictures, and regularly check the evenness of the coffee bed to evaluate your progress. Remember, stable pouring ability is the foundation for brewing high-quality pour-over coffee, and continuous, conscious practice will bring significant improvement.