Pour-over basics: How to control water volume and timing in three-pour brewing

Introduction: For beginners in pour-over coffee, three-pour brewing is the most classic and practical method. By pouring in stages, it not only helps precisely control the extraction rhythm but also enhances the layers of flavor in the coffee. This article explains the function of each stage of three-pour brewing, the logic behind dividing the water between pours, and techniques for timing the pours and extraction, helping beginners quickly master a stable and delicious pour-over method.
Among the many pour-over techniques, the three-pour method (also called three-cut flow) is the most highly recommended approach for both beginners and advanced brewers. It scientifically breaks the whole brewing process into three stages, which not only makes water flow and time easier to control but also helps improve the aroma and layers of the coffee. If you are new to pour-over, mastering three-pour brewing is an important step toward consistent results.
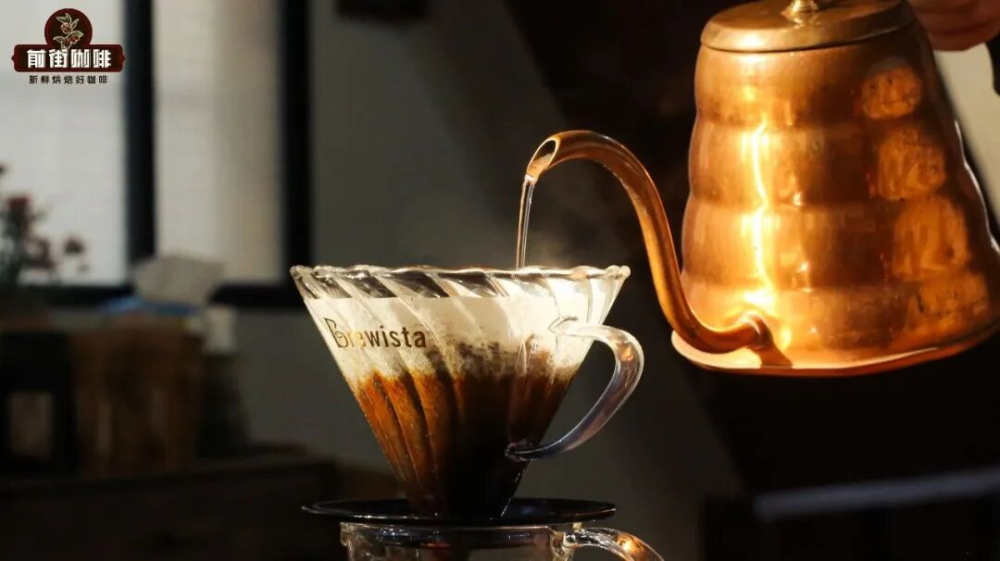
Why choose three-pour brewing rather than other methods? Compared with the one-pour method (pouring most of the water at once), three-pour brewing lets the brewer observe the state of the coffee bed and adjust the flow rate at different stages, thereby controlling extraction better. Especially for beginners, water flow is often hard to control; more stages mean more opportunities to adjust and an easier path to the ideal extraction time and flavor balance.
The basic logic of three-pour brewing is to divide the total water into three parts, corresponding to the bloom, main extraction and finish. Each stage has its own unique role, and together they determine the cleanliness, layers and balance of a cup of coffee.

Stage one: Bloom — awakening the coffee grounds
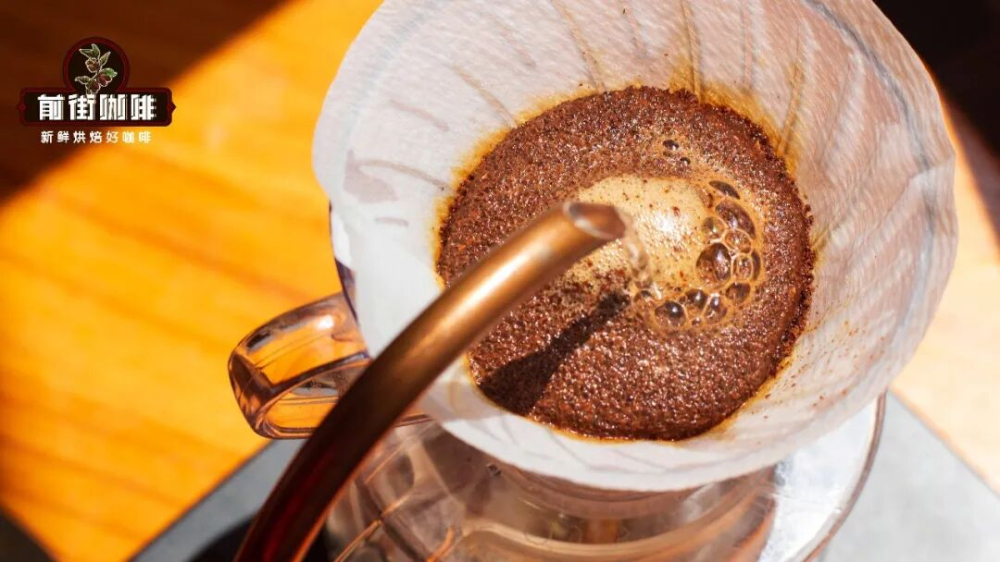
This is the first step of pour-over and a key foundation. The main purpose of the bloom is to release carbon dioxide from the coffee grounds, creating good conditions for the subsequent dissolving of flavor compounds. Use a small amount of hot water (usually twice the weight of the grounds, for example 30 milliliters of water for 15 grams of coffee), gently and evenly wet all the grounds, then let it sit for about 20 to 30 seconds until the bed stops bubbling, indicating the gas has mostly escaped; at this point you can move on to the main extraction stage.
Stage two: Main extraction — releasing the main flavors
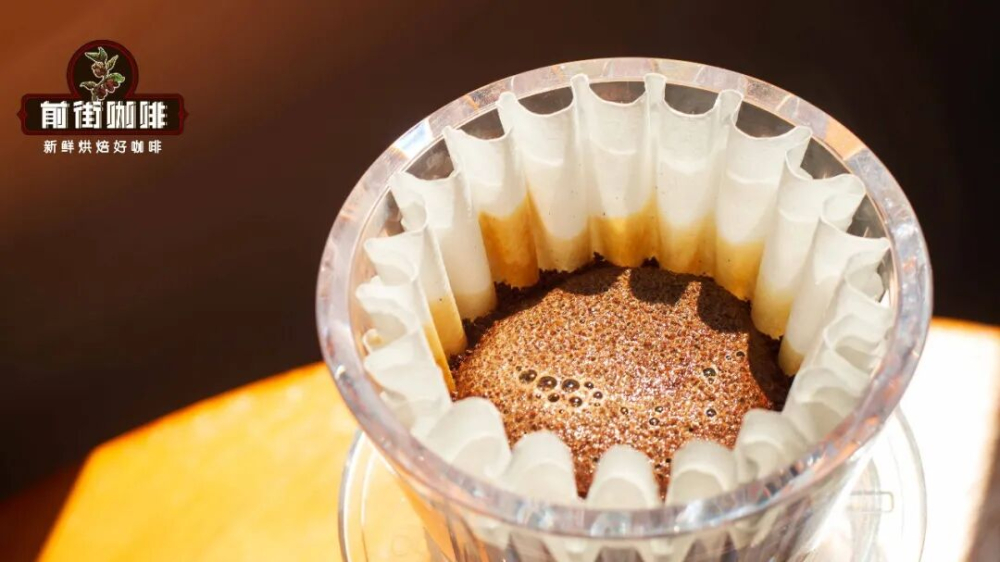
This is the core stage of flavor formation; most of the pleasant acidity, sweetness, floral and fruity notes are extracted here. A spiral path is recommended: start from the center, spiral outward, then back inward, keeping the stream steady and the speed even; the pour height can be slightly higher to naturally lift the coffee bed and form a "coffee wall." This stage should account for about half of the total water, with the pour taking 20 to 35 seconds; it is the key moment that determines whether the coffee's main flavors are clear.
Stage three: Finish and balance — balancing mouthfeel and strength
The final stage's main task is to add the remaining water while bringing out the tail-end flavor compounds, such as sweetness, body or aftertaste. Use a small, low-flow circular pour with gentle movements, avoiding disruption of the coffee bed structure already formed. The goal is to let the coffee drain steadily, completing all pouring between 1 minute 30 seconds and 1 minute 45 seconds, with a total extraction time ideally controlled at 2 minutes to 2 minutes 10 seconds. This stage has an important influence on the overall roundness and aftertaste.

How should the water be divided among the stages?
Taking a common single cup of pour-over (for example 15 grams of grounds, 225 milliliters total water) as an example: stage one, the bloom, uses about 30 milliliters; stage two, the main extraction, gets the largest share, usually half the total water (about 105 to 110 milliliters); the final stage adds the remaining water, about 80 to 90 milliliters. This ratio ensures even extraction and balanced flavor while making timing easy to control.
However, beans of different roast levels can be adjusted moderately: if you prefer the bright acidity and tea-like quality of medium-light roasts, you can appropriately increase the second pour, for example to 125 milliliters, to strengthen the fruit acidity and layers; for medium-dark roasts, you can slightly increase the third pour to enhance body and caramel notes.

How to manage pour timing and rhythm?
The second pour is usually completed within about 50 to 60 seconds after the bloom ends; then observe how quickly the coffee drains. If the liquid level drops to 1/2 to 1/3 of the bed height between 1 minute 10 seconds and 1 minute 20 seconds, drainage is smooth and you can continue with the third pour. If after 1 minute 15 seconds the level has not dropped noticeably, the grind may be too fine or the pouring too slow; at this point decisively switch to a larger stream and complete all pouring before 1 minute 45 seconds to avoid over-extraction and bitterness.

Summary: Key points of three-pour brewing
Three-pour brewing is not just a division of pours but a precise control of extraction rhythm. From the bloom that awakens the grounds, to the main extraction that releases flavor, to the finish that balances the mouthfeel, every step affects the final flavor. Remember the key parameters: bloom with about twice the weight of the grounds in water, main extraction taking half the total, and the third pour adding the remainder and adjusting strength. At the same time, adjust flexibly according to the beans' roast level and your personal taste, and your pour-over coffee will become more and more stable and layered.